Welcome to the enchanting realm of low-light photography, where shadows become canvases for your creativity. This guide is your ticket to capturing clear pictures in the dark. We’ll explore the art of utilizing available light sources, choosing the right equipment, and discovering fascinating locations for memorable nighttime photo escapades. So, buckle up as we unravel the secrets of camera settings—your key to unveiling the beauty hidden in the night.
Table of Contents:
Camera Settings for Low-Light Photography:
Utilizing Available Light Effectively
Essential Equipment for Low-Light Photography
Long Exposure: Interesting Photos to Try
City Lights and Urban Nightscapes
Mastering White Balance for Nighttime Shots
Editing Techniques for Perfect Low-Light Images:
Embracing the Beauty of Low Light
Camera Settings for Low-Light Photography:
Understanding and mastering your camera settings is crucial for achieving exceptional results in low-light photography. Here’s a breakdown of key settings:
ISO Settings:
Set your ISO to a higher value in low-light conditions to make your camera more sensitive to light. However, be mindful of increasing it too much, as higher ISO can introduce noise. Experiment with different ISO levels to find the right balance between sensitivity and image quality.
Aperture Control:
Use a wide aperture (low f-number) to allow more light into your camera. This is particularly important in low-light situations. A lens with a wide maximum aperture, such as f/2.8 or lower, is ideal for capturing more light and achieving a shallow depth of field. However if your lens does not have that low of an f-stop, that can be compensated for with ISO. Just remember that the higher the ISO, the more grain you introduce into your image.
Shutter Speed:
In low-light conditions, slower shutter speeds are often necessary to allow enough light to reach the camera sensor. However, this can result in motion blur if not handled correctly. Consider using a tripod for stability, or practice techniques like bracing yourself or resting the camera on a stable surface.
Manual Mode vs. Aperture Priority Mode:
While Aperture Priority mode allows you to control the aperture while the camera adjusts other settings, Manual mode provides complete control over all exposure settings. Experiment with both modes to find the one that suits your shooting style and the specific low-light conditions you’re working in.
Exposure Compensation:
Use exposure compensation to adjust the exposure set by your camera’s metering system. In low-light situations, you may need to dial in positive exposure compensation to brighten the image. Be cautious not to overexpose, and review your results to refine your compensation settings.
Focus Techniques:
In low-light conditions, autofocus may struggle to find a target. Consider switching to manual focus and using live view mode to zoom in and ensure accurate focus. If your camera offers focus peaking, take advantage of this feature to identify areas in focus more easily.
White Balance Adjustments:
Adjusting white balance is essential for accurate color reproduction in low-light scenes. Experiment with different white balance presets or use custom white balance settings to achieve the desired color temperature. Keep in mind that the color of artificial light sources may vary.
Bracketing for Exposure:
Bracketing involves taking multiple shots at different exposure levels. This technique ensures that you capture a range of exposures, providing flexibility in post-processing. It’s particularly useful in challenging low-light situations where getting the perfect exposure in a single shot may be difficult.
Mastering these camera settings will empower you to take full control of your low-light photography, allowing you to adapt to various situations and capture stunning images in the dark.
Utilizing Available Light Effectively:
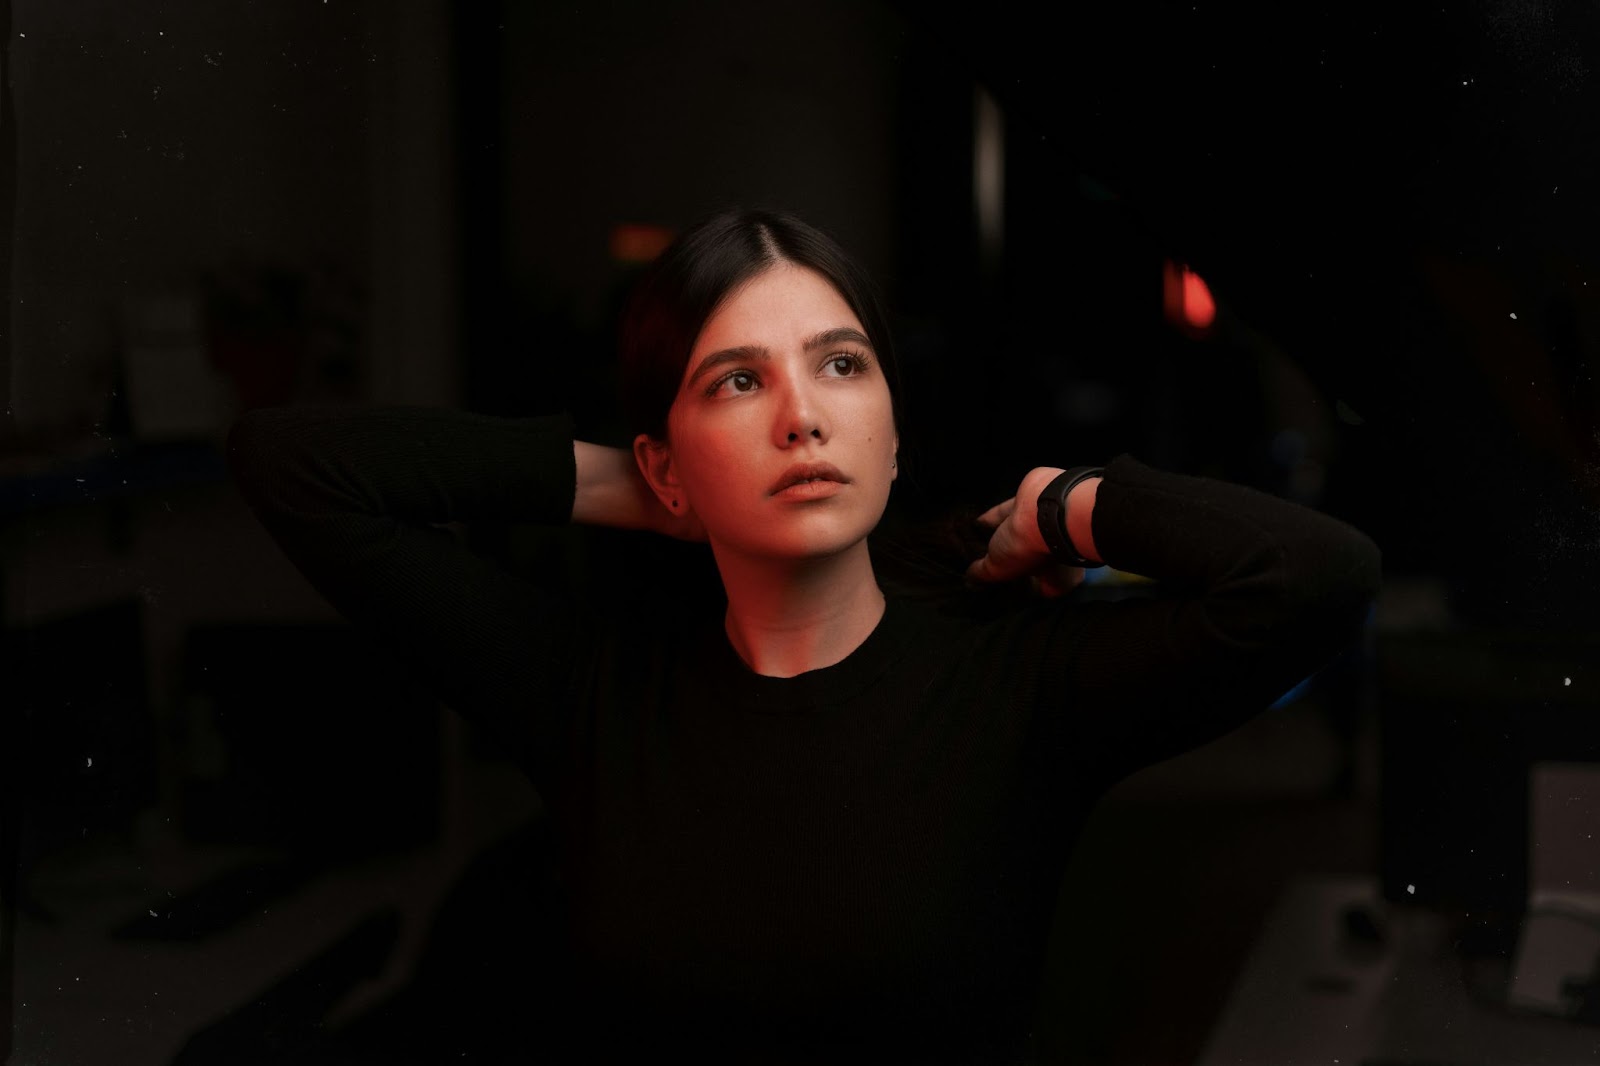
Make the most of natural and artificial light sources. The photo above utilized red light from a sign to illuminate the subject’s face. When taking your photos, position your subject to catch the available light, use wide apertures for more light intake, and experiment with exposure settings. Understand the direction of light and leverage it to create stunning low-light compositions. Always look for available light before turning to your flash or a handheld light source. Also if you’re planning to use the built in flash on your camera, know that they are typically used to light what is directly in front of the camera. This can make your images look more flat. To combat this try holding a piece of cloth or paper over the flash to soften and widen its flash.
Essential Equipment for Low-Light Photography:
Invest in a camera with high ISO capabilities, a fast lens (f/2.8 or lower), a handheld light source and a sturdy tripod. The high ISO helps in low-light conditions, while a wide aperture lens lets in more light. A tripod ensures stability for long exposure shots, reducing the risk of camera shake. Of course you can find ways to work around all of these things but they definitely make the shoot flow better and less of a headache. However if you’re just starting your low-light journey then I suggest you put in the time and effort to work around. This will make you more experienced and have more tools in your toolbelt for future shoots.
Long Exposure: Interesting Photos to Try
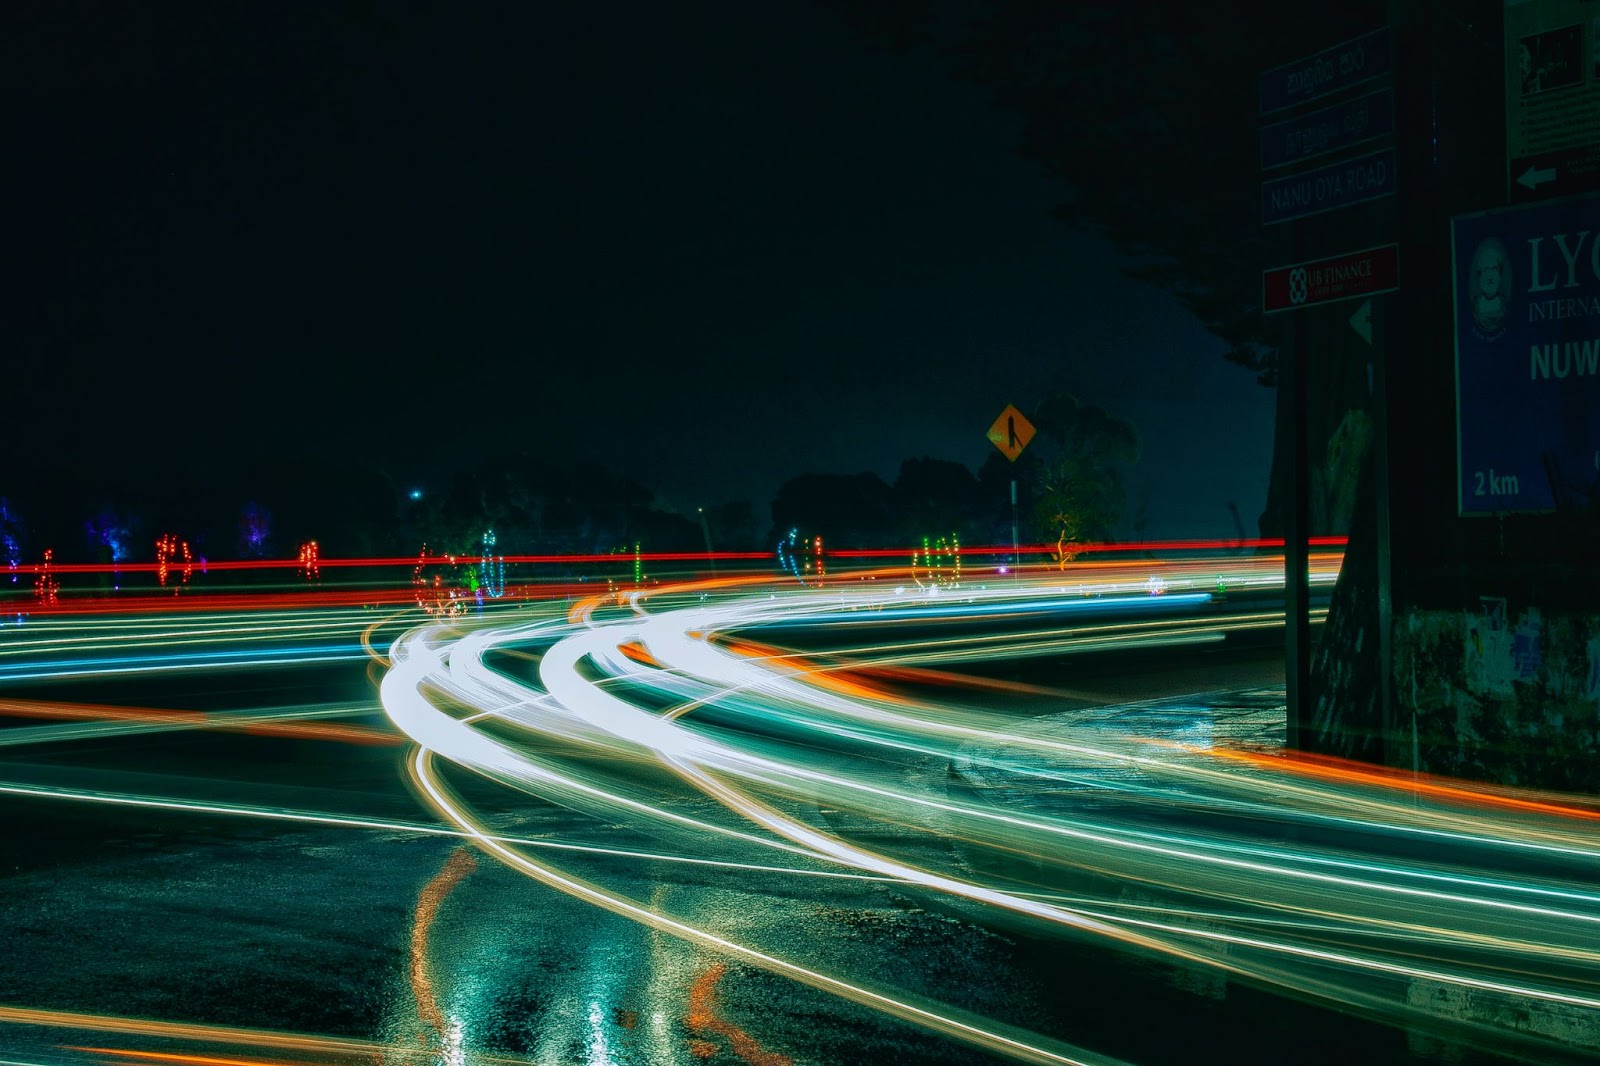
Capture light trails by photographing moving subjects like cars or stars. You can even experiment with a few friends and some glow sticks. To avoid shaking during exposure, use a remote shutter release or the camera’s self-timer. Experiment with different shutter speeds to achieve the desired effect. Also experiment with silhouettes by placing subjects against brighter backgrounds. Use the shadows creatively to add depth and play with foreground elements or framing to create unique compositions. Consider shooting during the blue hour for a magical twilight effect.
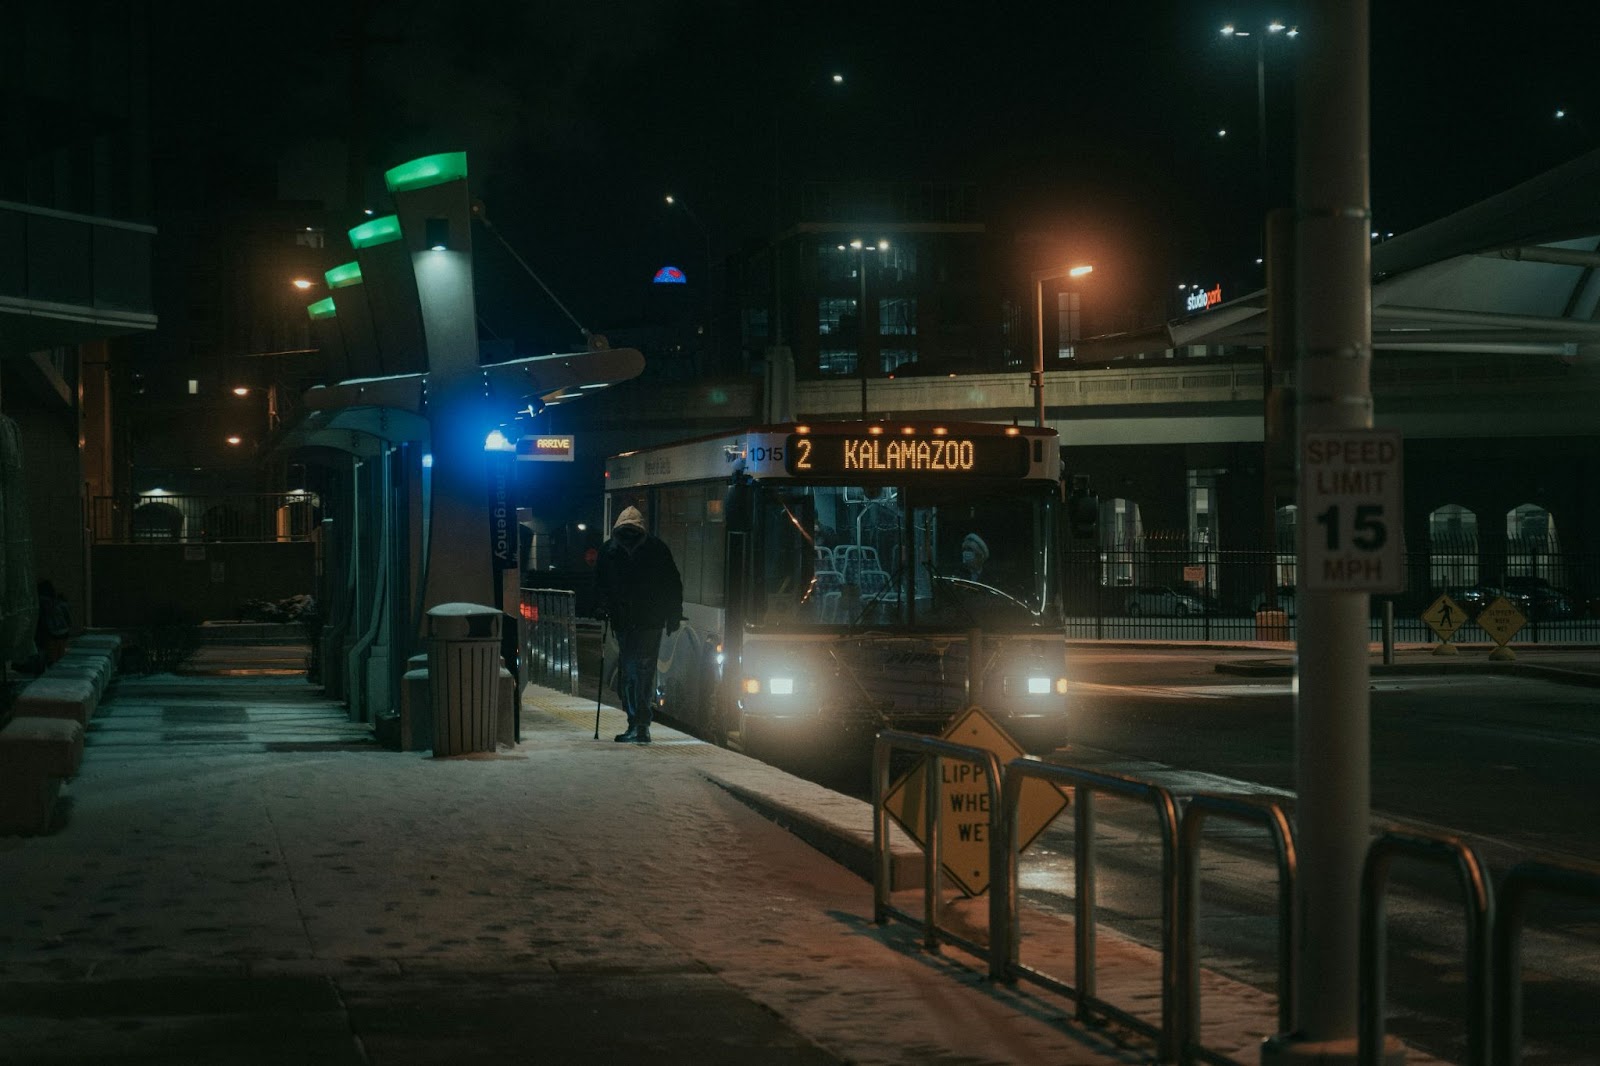
City Lights and Urban Nightscapes:
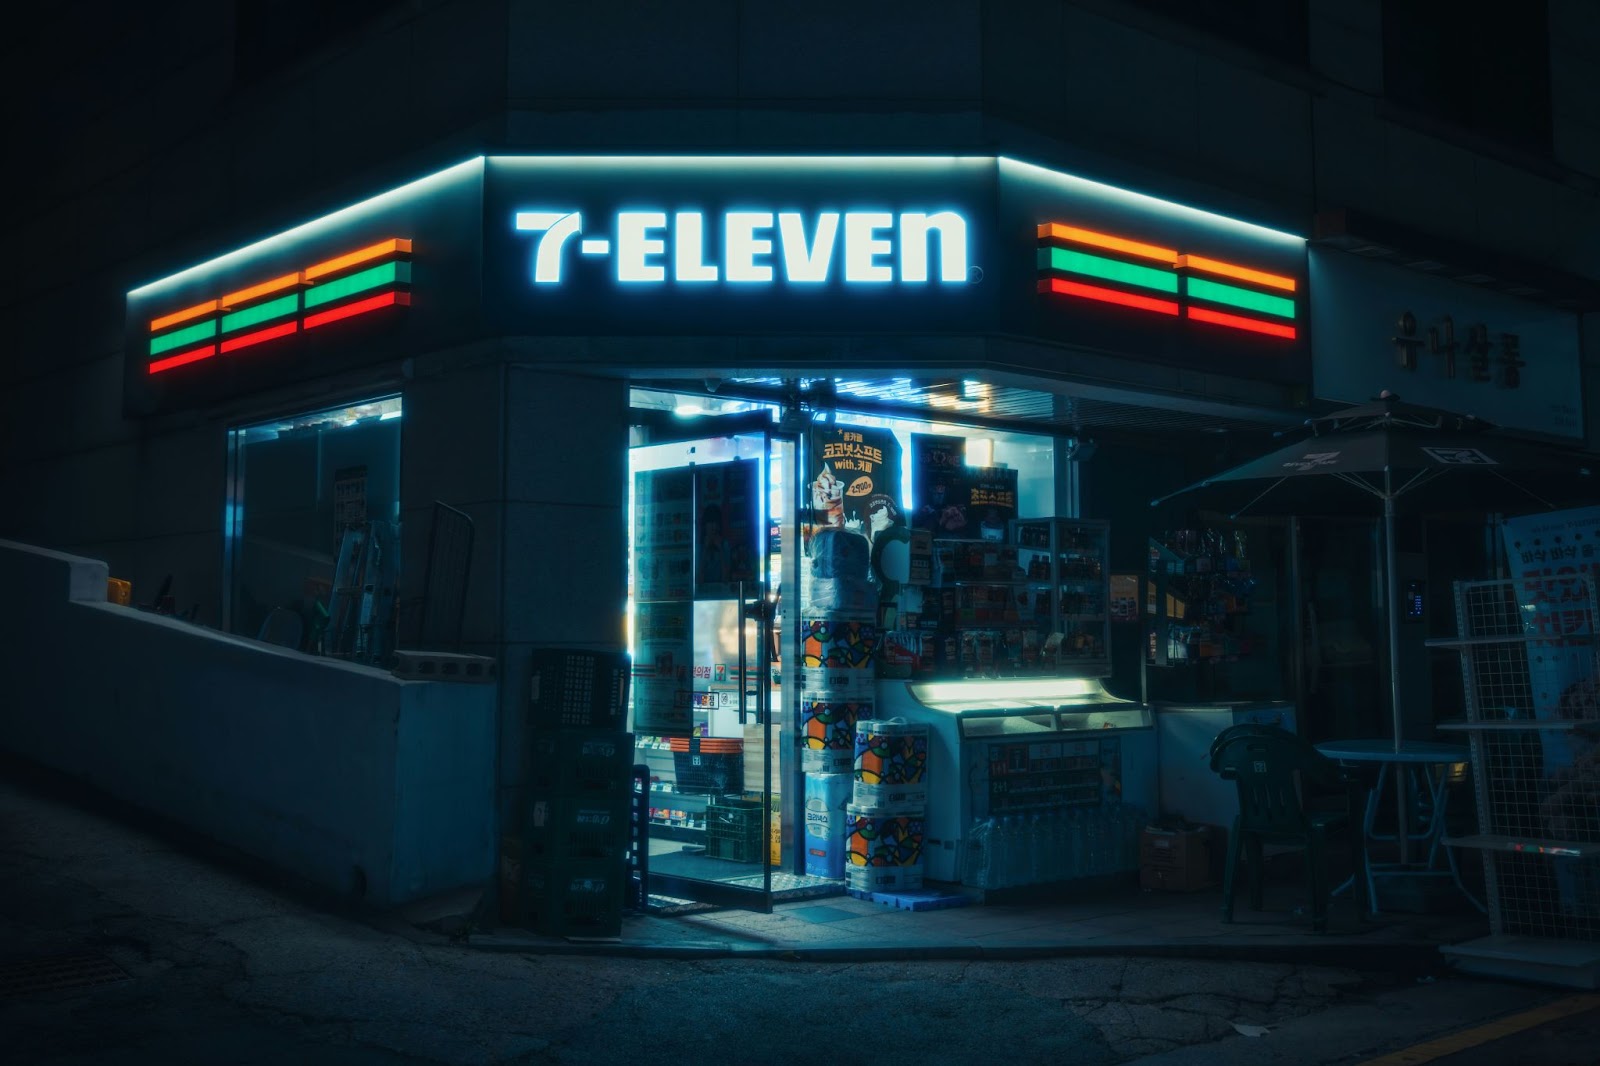
Embrace the vibrant energy of city lights by capturing reflections on wet surfaces or using slow shutter speeds to create light trails from moving vehicles. Expose for ths highlights because if the highlights are blown out and reach 100% white then you cannot retrieve data from those areas. You can almost always retrieve detail from the shadows. Explore different angles and viewpoints to showcase the urban landscape’s dynamic character. Also use any source of light whether it be a street light, open sign, or bright billboard to add color and creativity to your photos. Explore your surroundings and find light wherever it may be.
Mastering White Balance for Nighttime Shots:
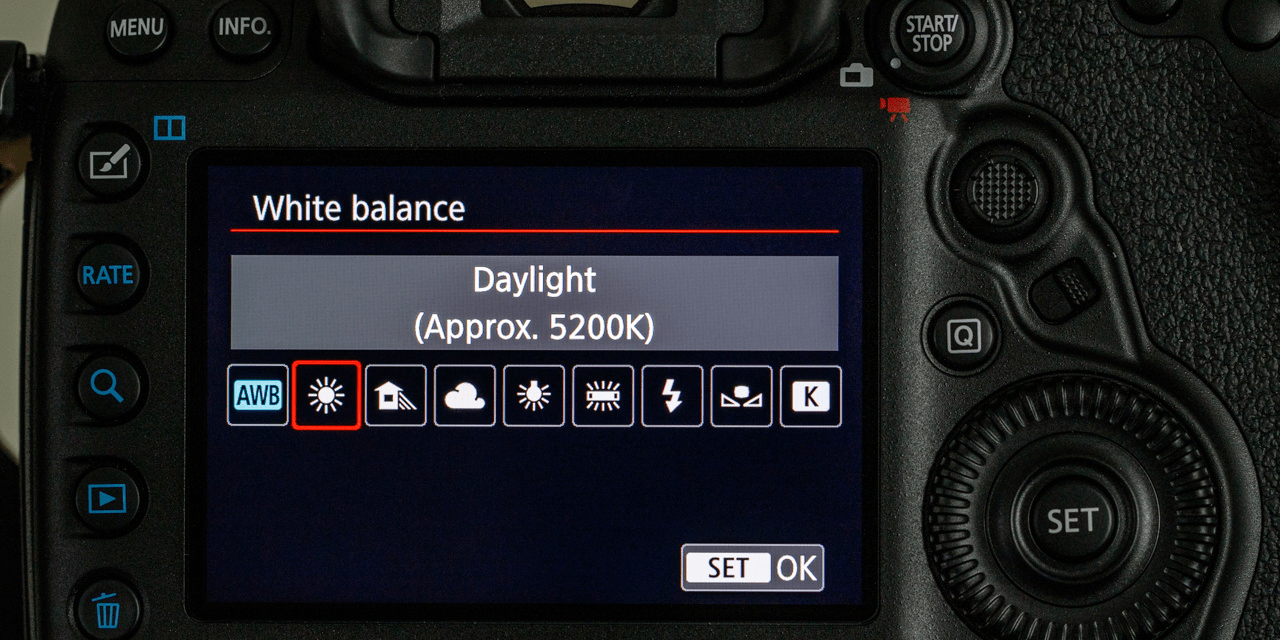
Adjust your white balance settings to match the lighting conditions. Use the tungsten or incandescent preset for warmer tones in artificial light. Experiment with custom white balance to achieve accurate colors. However if you think of using the auto white balance in mixed color lighting situations, do not. This will often give your images the wrong color and will be a pain to edit in post.
Editing Techniques for Perfect Low-Light Images:
Post-processing is key for enhancing low-light images. Use noise reduction tools to combat graininess. Adjust contrast, highlights, and shadows to bring out details. Experiment with black and white conversions for a dramatic impact. Fine-tune color balance to achieve the desired mood. And know that most of the time the whole image does not need to be adjusted at once, utilize masking tools to edit the parts of photos you want edited.
Embracing the Beauty of Low Light:
As you delve into the intricate world of camera settings for low-light photography, remember that mastery comes with practice. Experiment with ISO, aperture, shutter speed, and other settings to find your unique style. Combine this technical knowledge with creative techniques explored in other sections, and you’ll unlock the full potential of your low-light photography. Embrace the challenges, celebrate the victories, and illuminate the darkness with your artistic vision. Happy shooting!