Welcome to the captivating realm of editing RAW photos in Lightroom! This guide is your ticket to unraveling the mysteries of Adobe Lightroom, empowering you to enhance your photographs effortlessly. Whether you’re a beginner or an aspiring photo wizard, join us on this journey to demystify the art of editing raw photos and transform them into visual wonders.
Table of Contents
Why Editing Photos in RAW is Essential
Lightroom Importing
Lightroom Optional Presets
Cropping and Straightening
Mastering Exposure and Brightness
Playing with Temperature & Tint: Setting the Mood
Adding Vibrance & Saturation: A Splash of Color
Sharpening and Clarity: The Finishing Touches
Dive into the Color Mixer: Crafting Artistic Hues
Exporting Your Masterpiece: Sharing the Brilliance
Understanding Presets: A Deeper Dive
Advanced Techniques for Finer Edits
Conclusion
Why Editing Photos in RAW is Essential
Let’s delve into the foundation of photo editing – the RAW format (tagged differently for every brand when exported for post). Imagine your photo as a raw ingredient in a recipe. Shooting in RAW captures more information, like a chef having access to the freshest and most flavorful ingredients. This abundance of data provides you with unparalleled control during the editing process, ensuring your final image retains maximum detail and quality.
Lightroom Importing
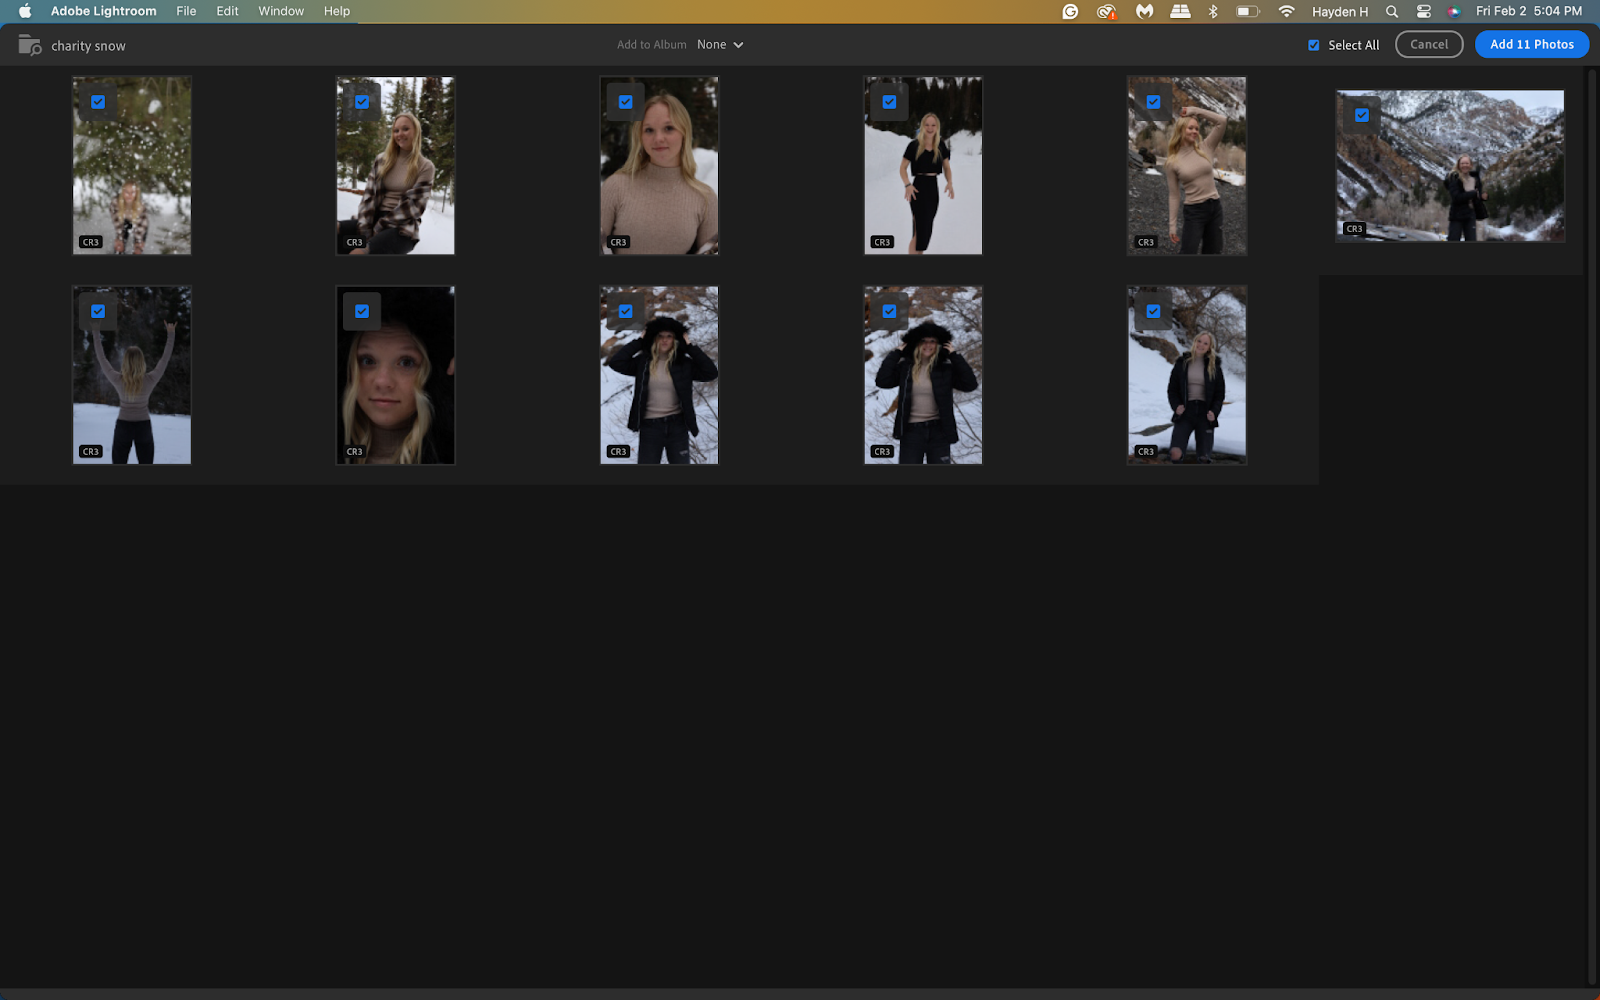
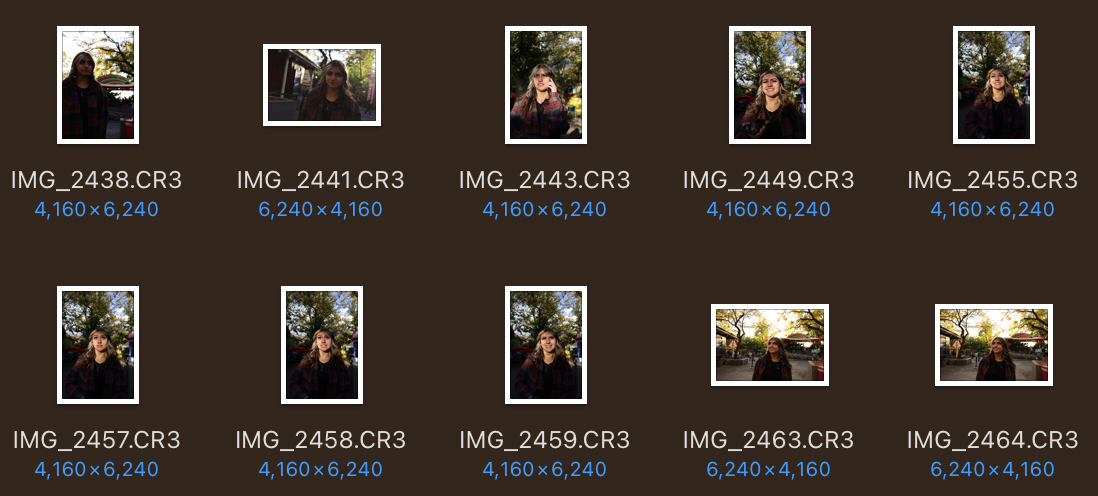
1 The Art of Importing and Selecting
As you step into the Lightroom interface, importing your photos marks the commencement of your creative journey. Consider this process akin to curating pieces for an art exhibition. Utilize flags, stars, and colors not just for organization but as tools to sift through your visual treasures. The act of selecting is not merely about discarding unwanted images but about sculpting the raw material into a collection of potential masterpieces.
2 Organizing Your Workflow Like a Pro
Beyond the simplicity of importing, Lightroom offers organizational features that transform your workspace into a well-orchestrated studio. Keywords and collections act as your brushes and palettes. Keywords tag your images, making them searchable, while collections act as thematic galleries. This organization becomes the symphony conductor, ensuring your editing process is harmonious and efficient.
3 Choosing the Perfect Photo to Edit
Selecting the right photo is akin to choosing the protagonist for a narrative. Consider the story each image tells. Does it evoke an emotion, capture a fleeting moment, or showcase a unique perspective? The chosen photo becomes the canvas for your editing prowess, setting the stage for a visual tale that resonates.
Lightroom Optional Presets
Presets, often regarded as the magic wand of photo editing, are your gateway to artistic styles. They’re like choosing a filter on a social media app, but with Lightroom, you have the power to create your own signature look. However, don’t consider presets as the final act. Treat them as a prelude, a starting point from which you embark on a nuanced journey of adjustment, tailoring the preset to enhance the uniqueness of each image.
Cropping and Straightening
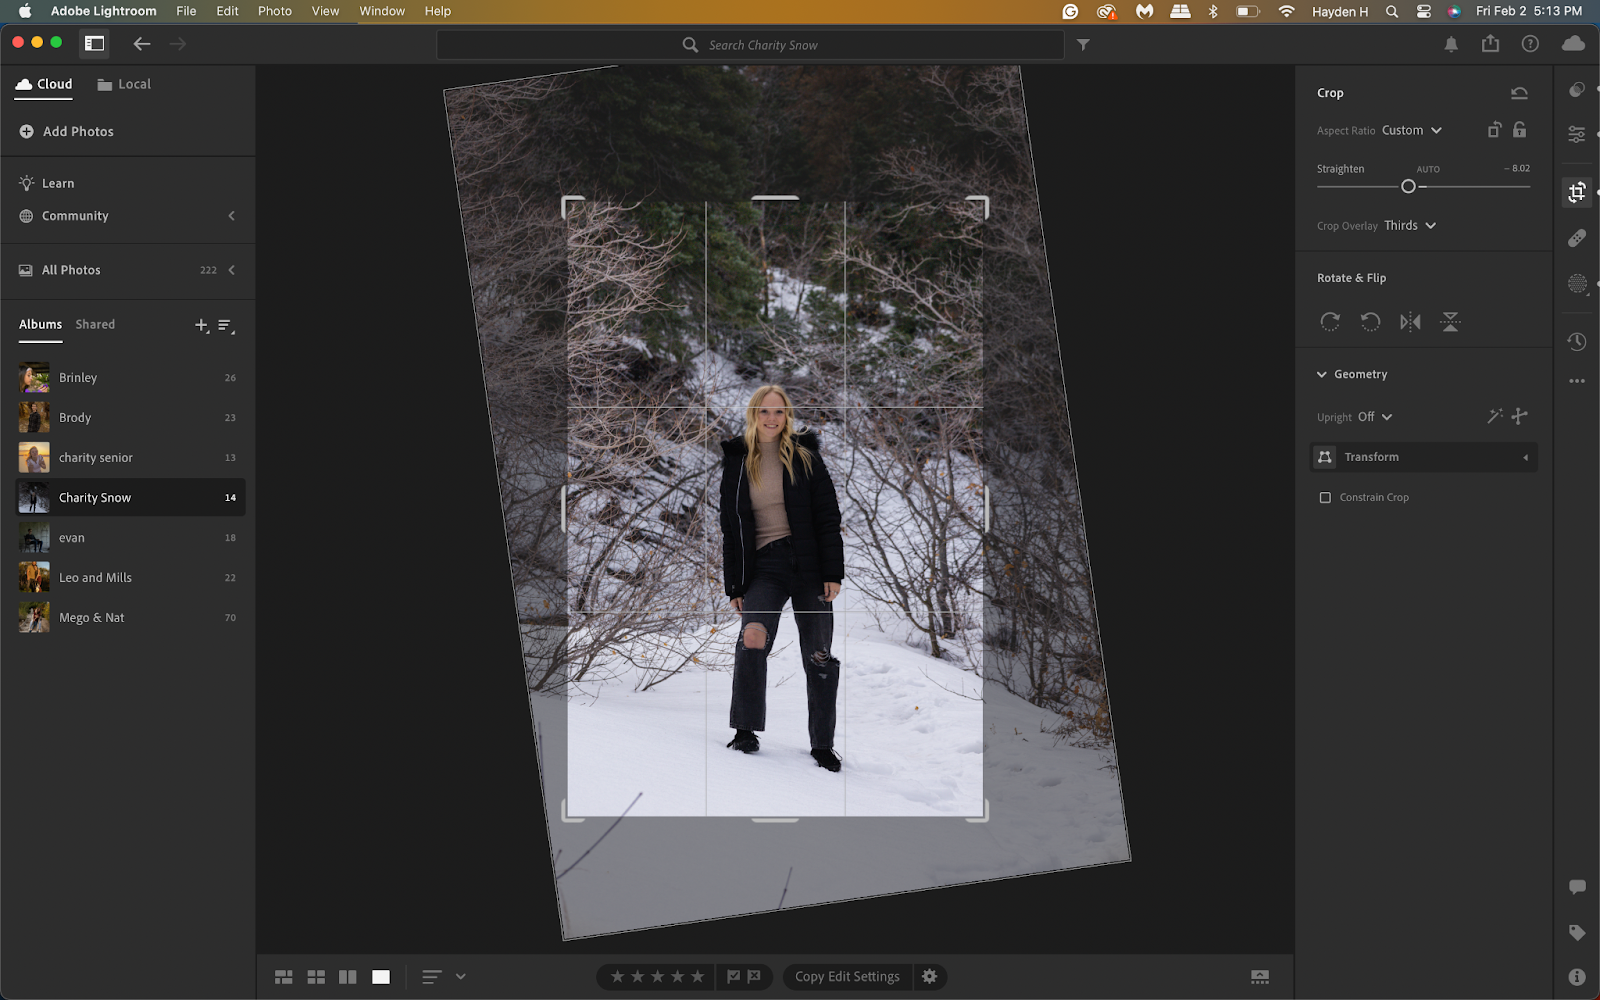
This skill, seemingly elementary, is the subtle craft that frames your visual narrative. Cropping is akin to composing a painting – eliminating distractions and emphasizing focal points. Straightening corrects horizons, establishing visual balance. Together, these acts elevate your photo from a casual snapshot to a purposeful composition, capturing attention with precision.
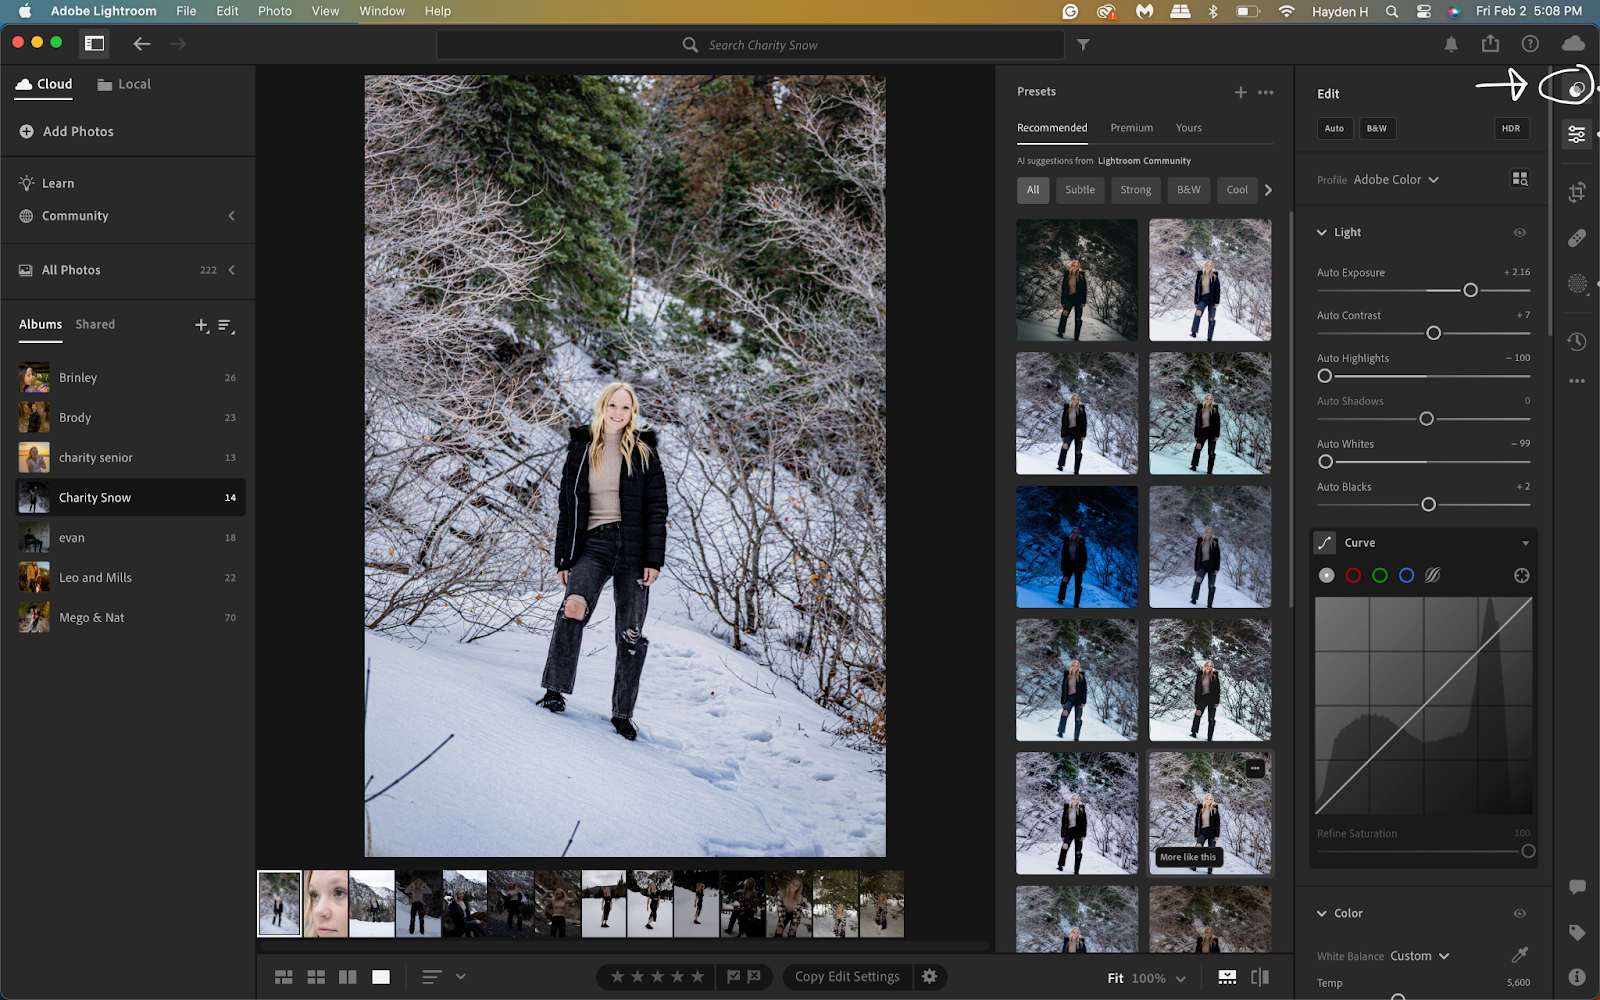
Mastering Exposure and Brightness
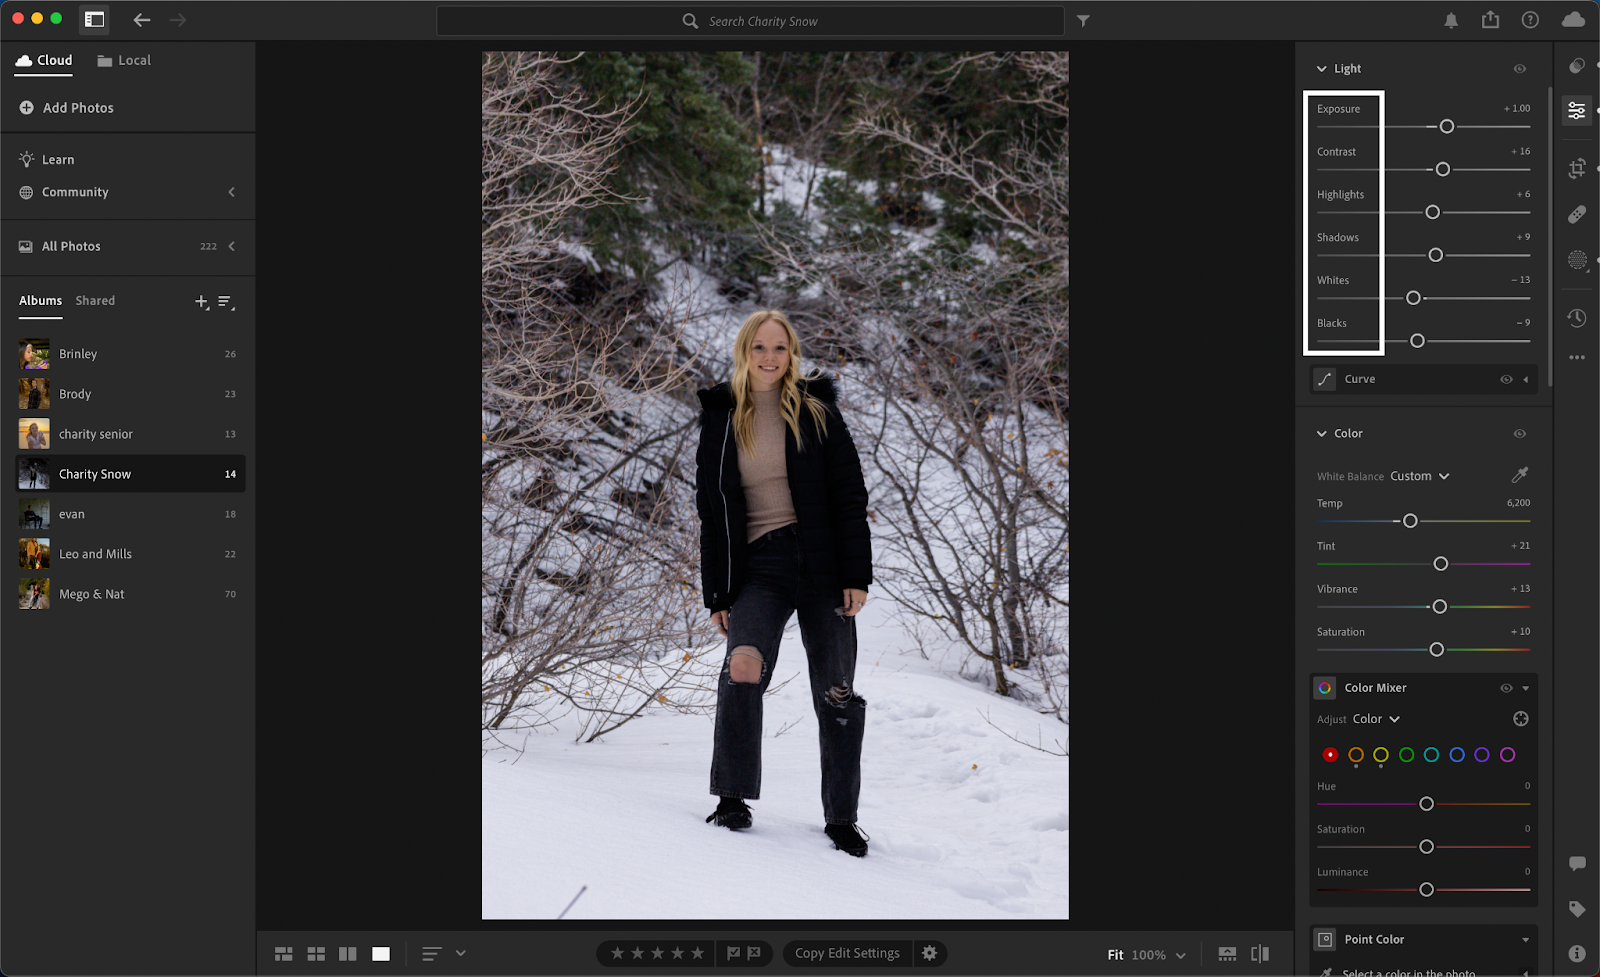
1 Highlights, Shadows, Contrast, Whites & Blacks
Balancing exposure elements is a dance of light and shadow, a symphony where highlights and shadows play distinct roles. Adjusting contrast breathes life into your image, while fine-tuning whites and blacks refines the tonal spectrum. It’s akin to orchestrating a play of light and shadow, transforming your image into a captivating visual experience.
Playing with Temperature & Tint: Setting the Mood
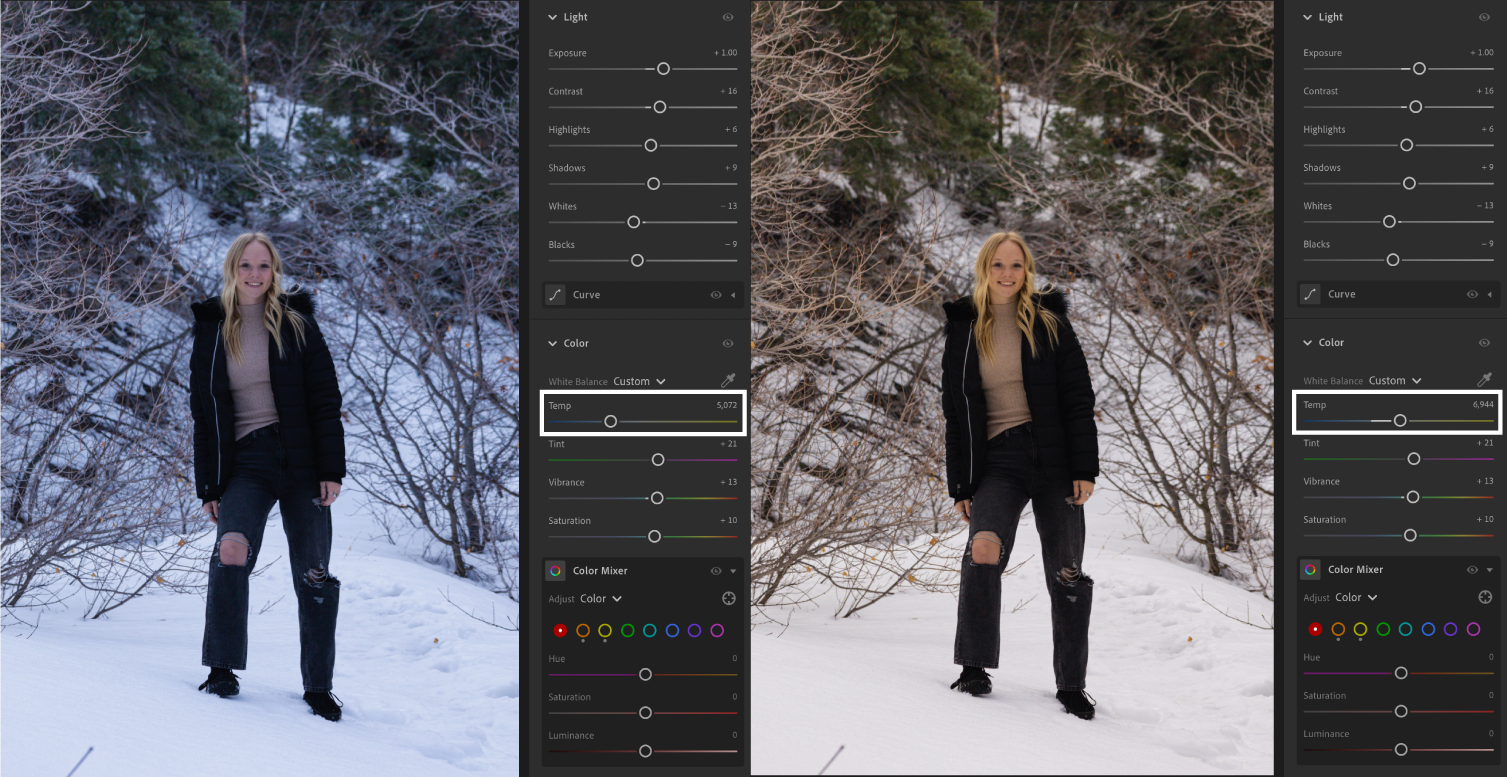
Temperature and tint are the storytellers of your visual journey. Temperature infuses warmth or coolness, evoking emotions tied to specific color tones. Tint introduces a subtle touch of color, a whisper that can alter the entire mood of your image. Picture adjusting the temperature for a golden sunset or adding a hint of magenta to elevate the atmosphere – your photo becomes a canvas for emotion.
Adding Vibrance & Saturation: A Splash of Color
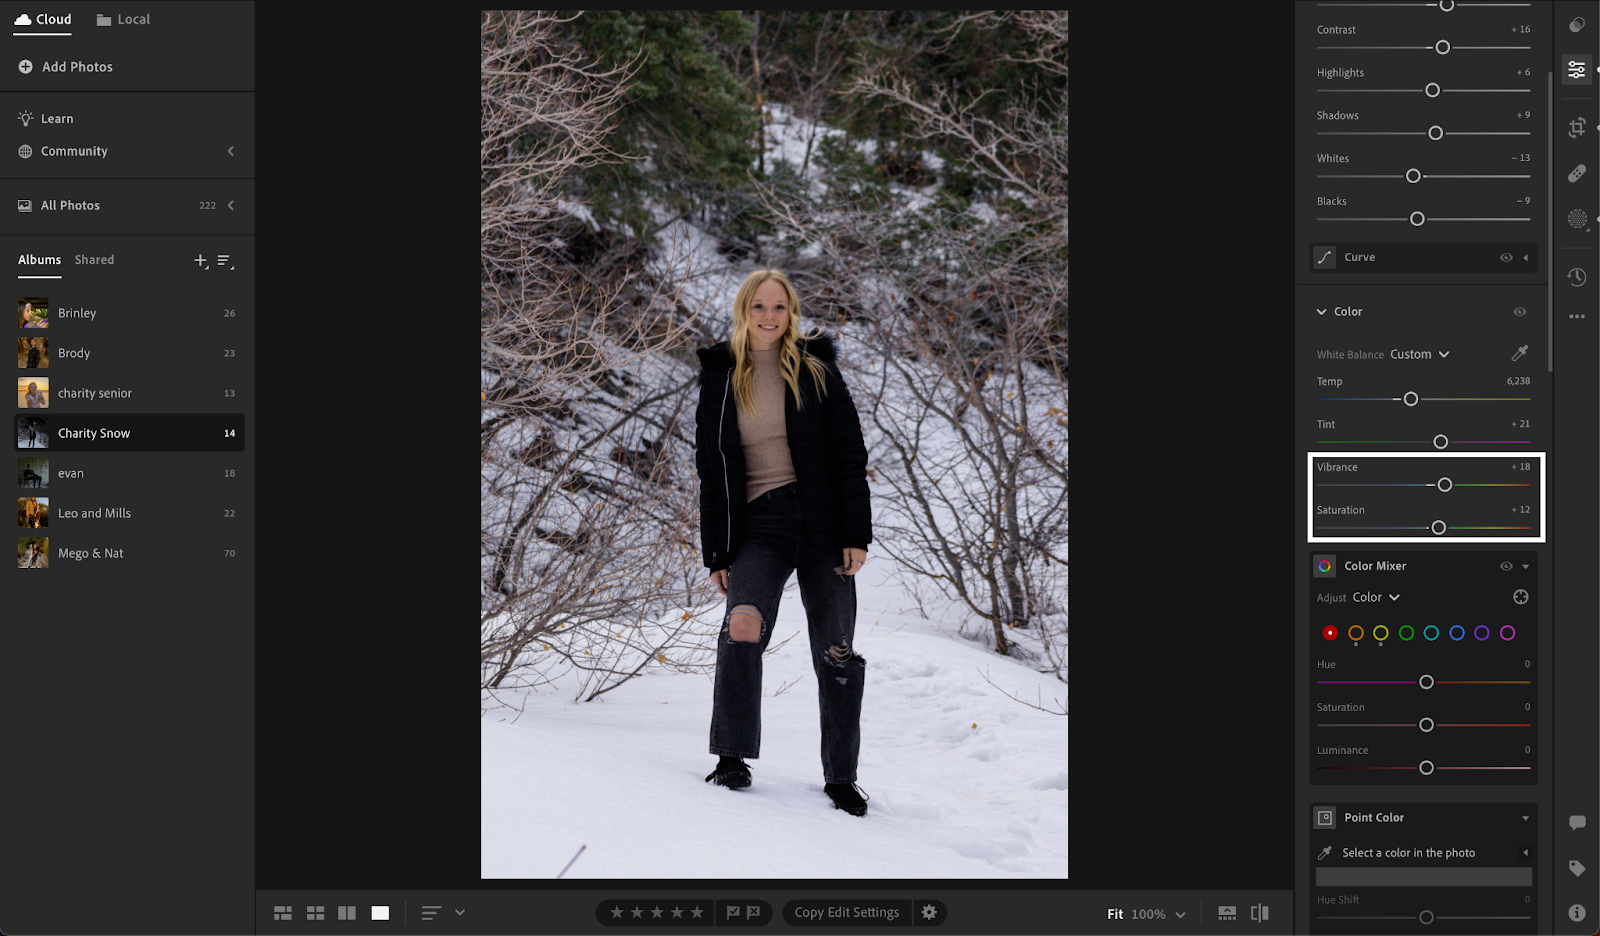
Vibrance and saturation, the color maestros, bring life to your visual palette. Vibrance delicately enhances muted tones, providing nuanced richness without overwhelming the senses. Saturation intensifies the overall color palette, adding vibrancy. Striking the right balance ensures your images pop with life while maintaining a natural and pleasing appearance.
Sharpening and Clarity: The Finishing Touches
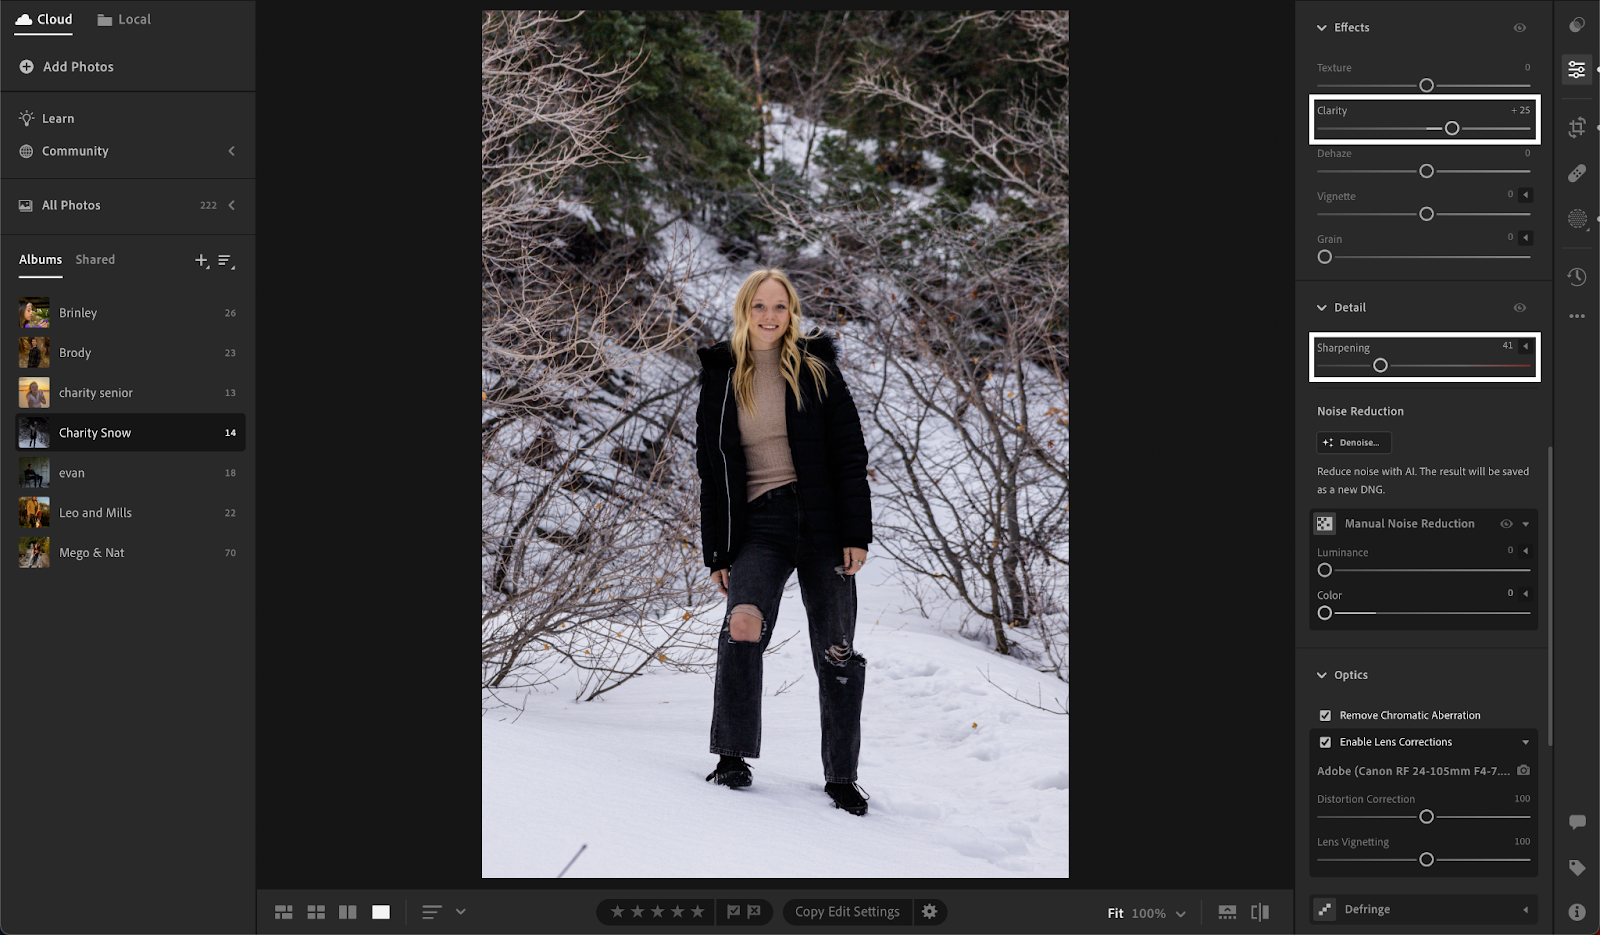
In the realm of finishing touches, sharpening and clarity act as the final strokes of your artistic brush. Sharpening enhances details with crispness, adding definition without venturing into the realm of artificiality. Clarity, a more subtle adjustment, introduces mid-tone contrast, giving your photo an extra layer of visual interest. These finishing touches elevate your image from a mere photograph to a captivating piece of art.
Dive into the Color Mixer: Crafting Artistic Hues

The Color Mixer in Lightroom is your palette of artistic expression. Beyond global adjustments, dive into individual color channels, manipulating hues, saturation, and luminance. This precision allows you to fine-tune the appearance of specific colors, achieving the desired mood and atmosphere. It’s like being a painter, adding brushstrokes of color to evoke a myriad of emotions within your audience.
Exporting Your Masterpiece: Sharing the Brilliance
The final act, exporting your masterpiece, demands thoughtful consideration. It’s not just about saving; it’s about selecting the optimal format for the intended purpose. Whether it’s for high-resolution printing or online sharing, tailor your export settings to the platform or medium where your visual story will unfold. Multiple exports with varying resolutions empower you to share your creation across diverse platforms, each with the optimal visual impact.
Understanding Presets: A Deeper Dive
1 Tweaking Presets for Perfection
Presets, often regarded as the secret sauce, are your artistic signature. Beyond their application, consider them as the starting point for a collaborative effort. Each photo is unique, and the effectiveness of a preset lies in the art of adjustment. Tweak sliders to control the intensity of each effect, ensuring your preset harmonizes seamlessly with the distinctive qualities of your image.
Advanced Techniques for Finer Edits
As you progress in your Lightroom journey, advanced techniques become your toolkit for finer edits.
1 Graduated Filters and Radial Filters
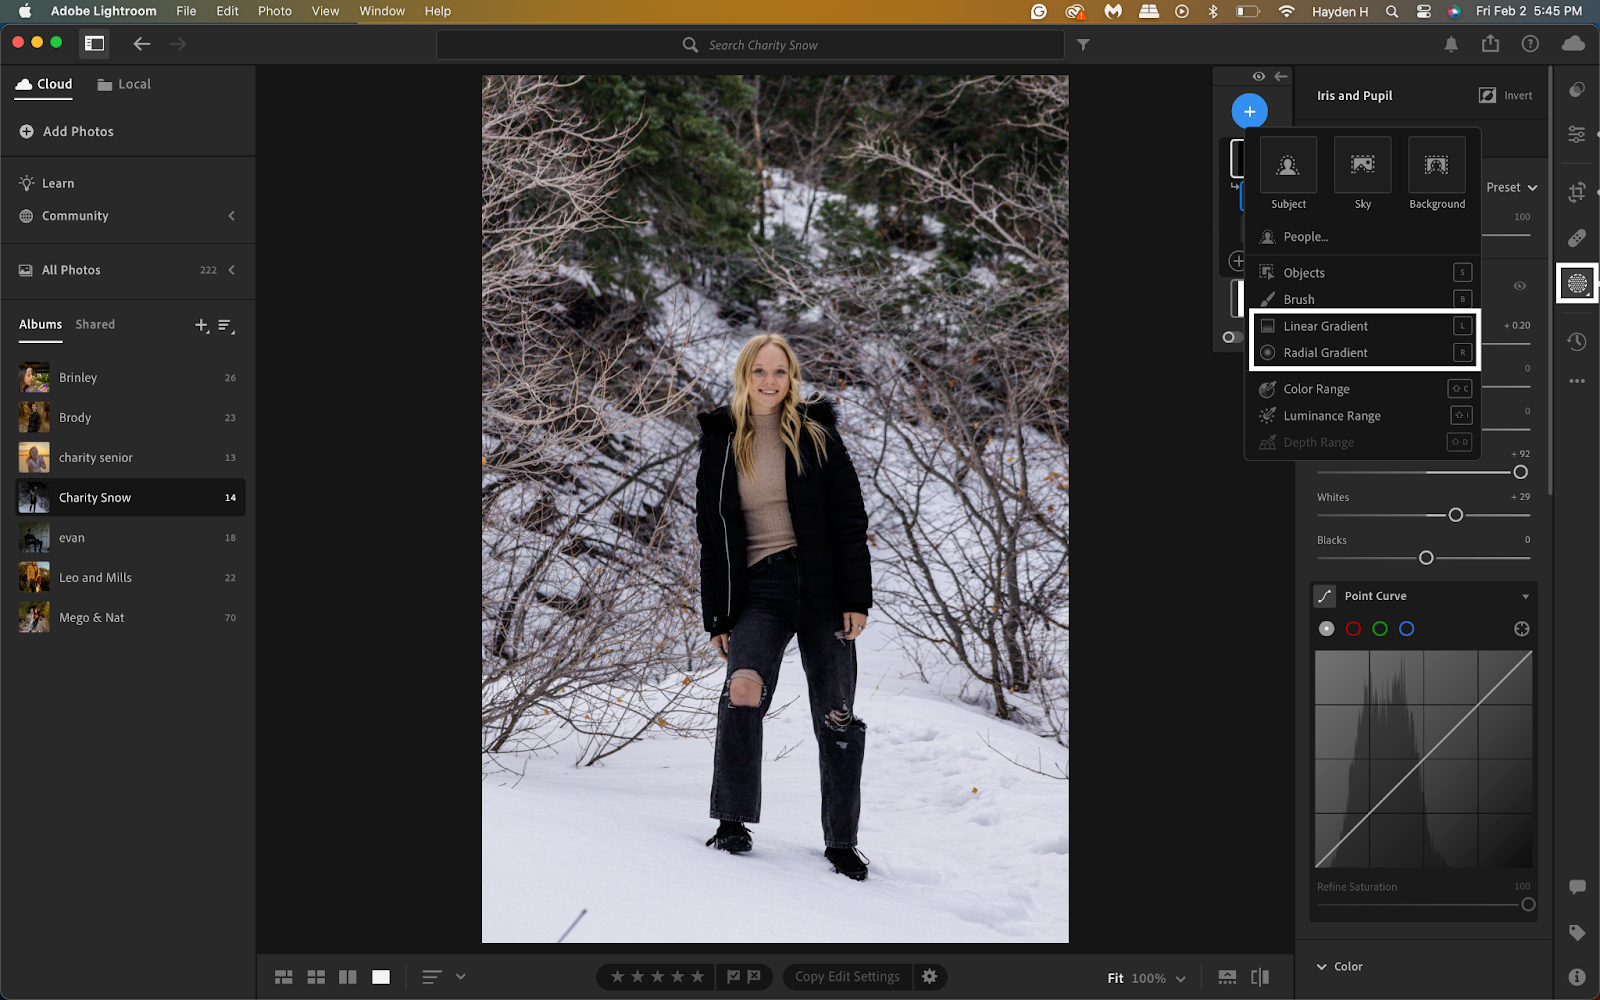
Imagine these filters as spotlights in a theatrical production, allowing you to illuminate specific areas of your photo or masks if you’re familiar with photoshop. Graduated filters enable you to adjust exposure gradually, like controlling the spotlight’s intensity. Radial filters, on the other hand, create focused adjustments within a circular area, directing attention to the chosen subject.
2 Tone Curve Mastery
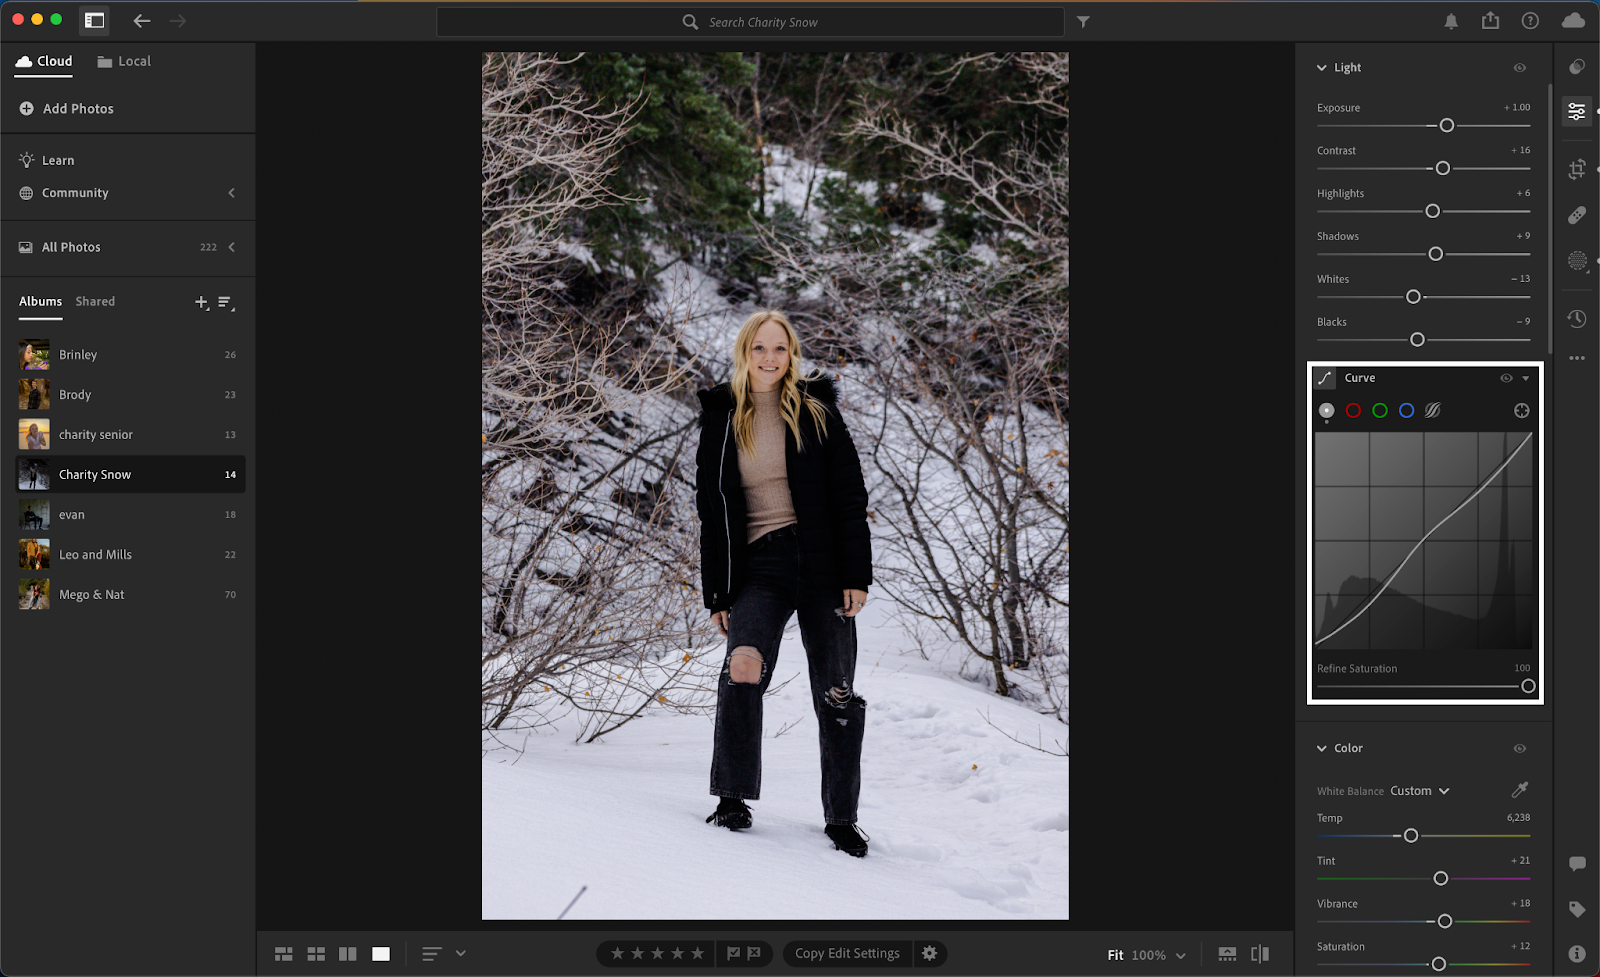
The tone curve is your magic wand for nuanced brightness and contrast control. Picture it as sculpting the mood of your photo. The curve empowers you to target specific tonal ranges, adding depth and dimension to your images.
3 HSL Panel for Precision
Enter the realm of granular control with the Hue, Saturation, and Luminance (HSL) panel. Each color becomes a note in your symphony, allowing you to fine-tune the appearance of individual hues. This precision is your path to crafting images that resonate with your artistic vision.
4 Transforming Your Image with Perspective Corrections
For architectural photography or images with distorted perspectives, Lightroom’s Transform tools become your virtual architects. Straighten lines, correct angles, and ensure a visually accurate representation. It’s like having the power to rebuild reality within the digital realm.
Conclusion
Congratulations on navigating the intricate world of photo editing in Lightroom! As with any skill, mastery comes with practice and exploration. Experiment with different settings, embrace the uniqueness of each photo and witness the evolution of your editing finesse. For a deeper dive into the captivating universe of photography, explore more tips and tricks in my blog posts!