Capturing the essence of a city through photographs is a fascinating journey that combines creativity, skill, and a good understanding of your surroundings. In this comprehensive guide, we’ll delve into the art of city pictures, exploring techniques for both daytime and nighttime shots, along with tips on composition to elevate your urban photography game. Whether you’re an amateur enthusiast or a seasoned photographer, let’s embark on this urban adventure together.
Table of Contents:
Understanding Your Equipment
Daytime Photography: Playing with Light
Nighttime Photography: Embracing the City Lights
Composition Essentials: Framing Your Shot
Leading Lines: Guiding the Viewer’s Eye
Symmetry and Patterns: Adding Structure to Chaos
Rule of Thirds: Balancing Your Cityscape
Foreground Interest: Creating Depth
Cityscapes in Monochrome: Timeless Elegance
Creative Angles: Seeing the City from a New Perspective
Post-Processing Tips for City Pictures
Safety First: Nighttime Photography Precautions
Understanding Your Equipment:
Before you hit the streets, familiarize yourself with your camera settings. For daytime city pictures, use a moderate ISO setting (100-400) to maintain image quality. In low light conditions, switch to a higher ISO (800-1600) for nighttime shots. Don’t forget to pack spare batteries and memory cards, ensuring you’re ready for any photographic opportunity.
Utilize Lens Flares for Artistic Effects
Experiment with lens flares during the golden hour for a creative touch. Position your camera so that the sunlight hits the lens at an angle, creating captivating flares that add warmth and drama to your cityscape.
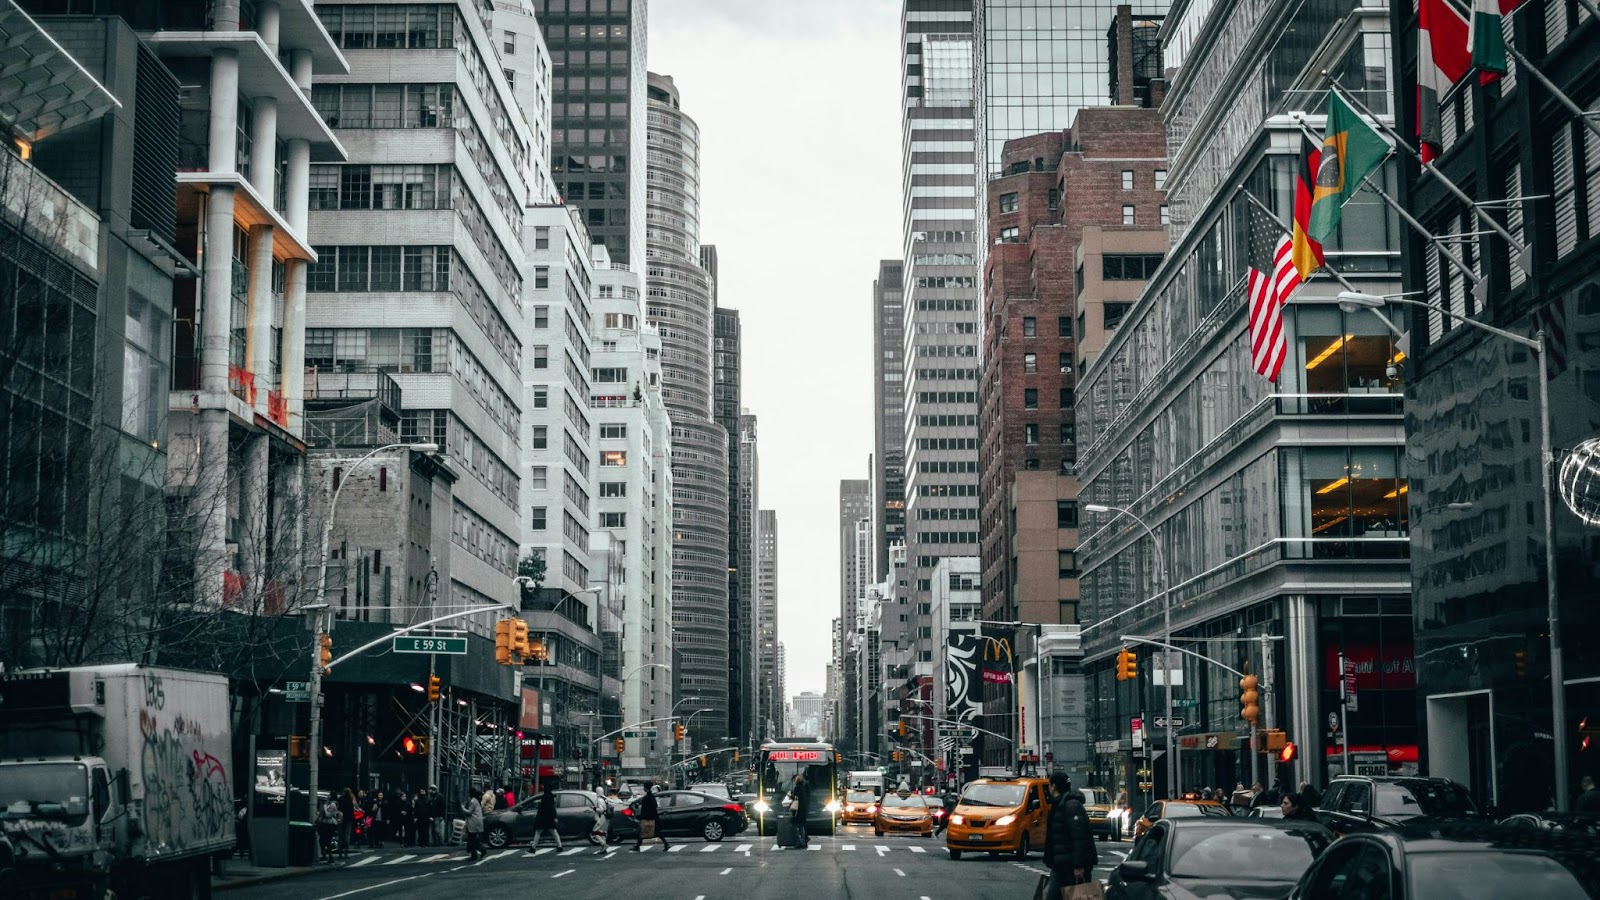
Daytime Photography: Playing with Light:
Take advantage of the natural light during the day. Experiment with different angles to capture shadows and highlights on city structures. Use a polarizing filter to reduce glare from reflective surfaces and enhance color saturation. The “city pictures” you take during daylight hours can be dynamic and full of vibrant colors.
Golden Hour Brilliance
Consider planning your city photo shoots during the golden hours – shortly after sunrise or before sunset. The soft, warm light during these times adds a magical touch to your city pictures, enhancing the overall mood and atmosphere.
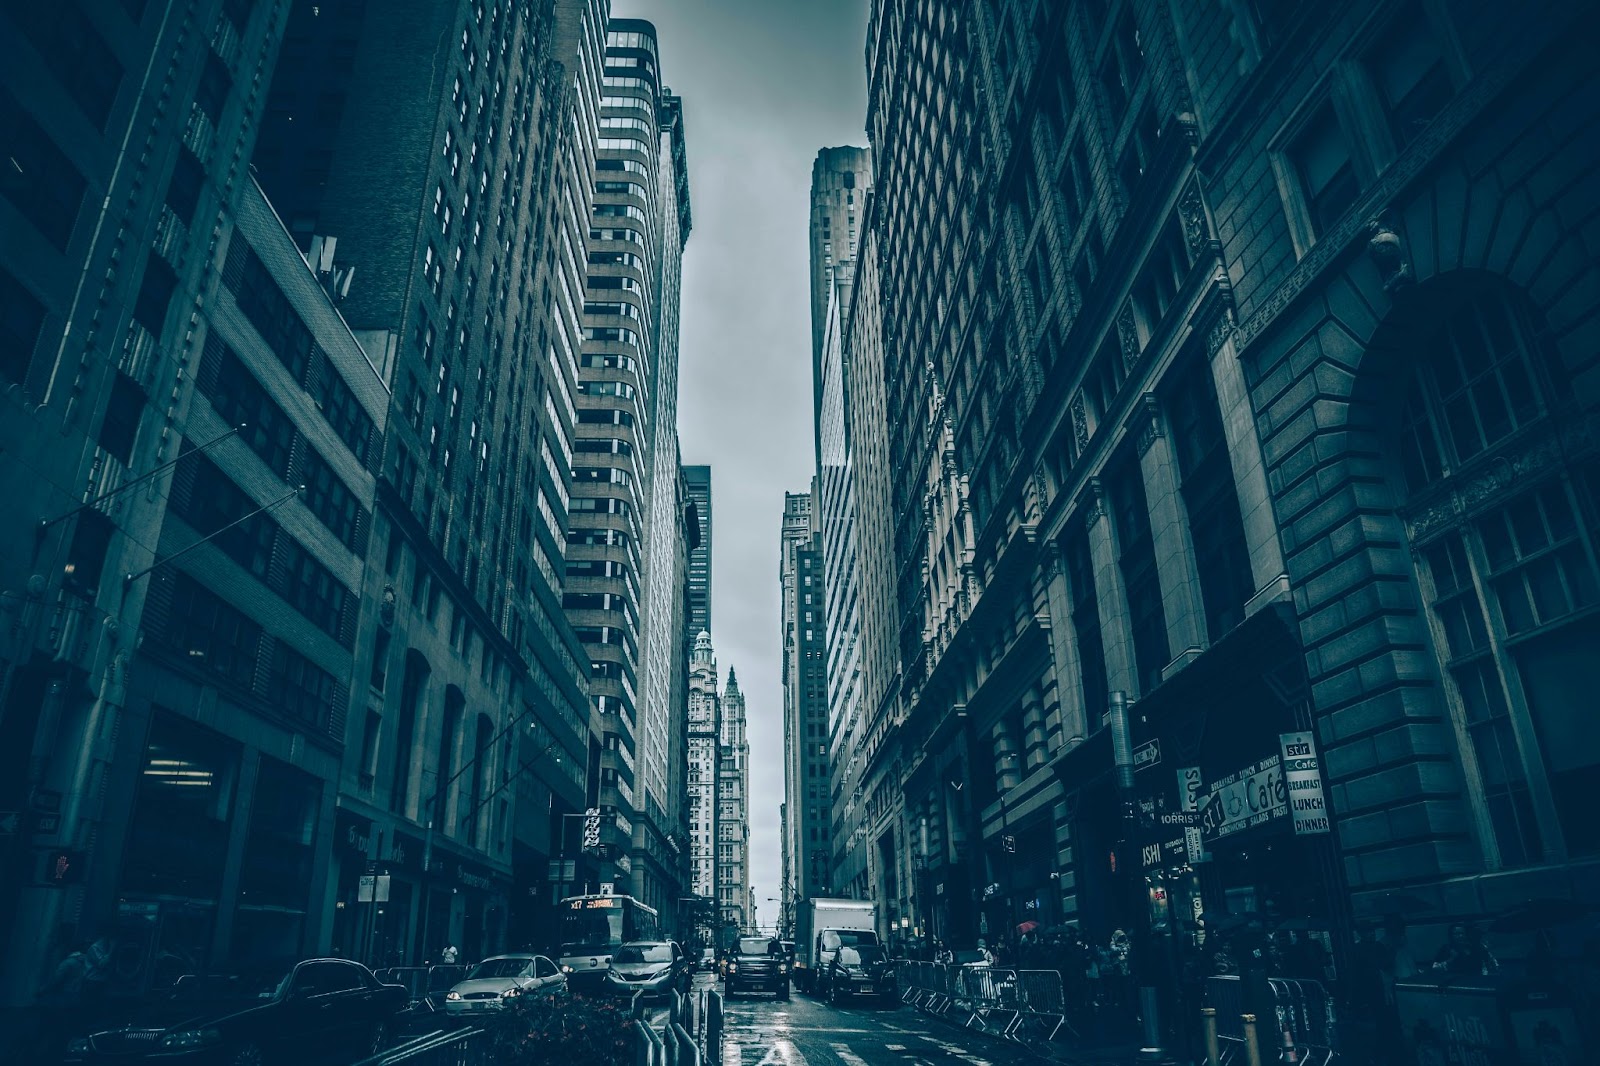
Utilize Shadows for Contrast
Play with the long shadows cast by buildings during the late afternoon. Position yourself to capture these elongated shadows, adding depth and contrast to your daytime city pictures.
Nighttime Photography: Embracing the City Lights:
As the sun sets, cities transform into captivating landscapes of artificial lights. Use a sturdy tripod for stability during longer exposures, and consider a wide aperture to let in more light. Experiment with different white balance settings to play with the tones in your nighttime city pictures.
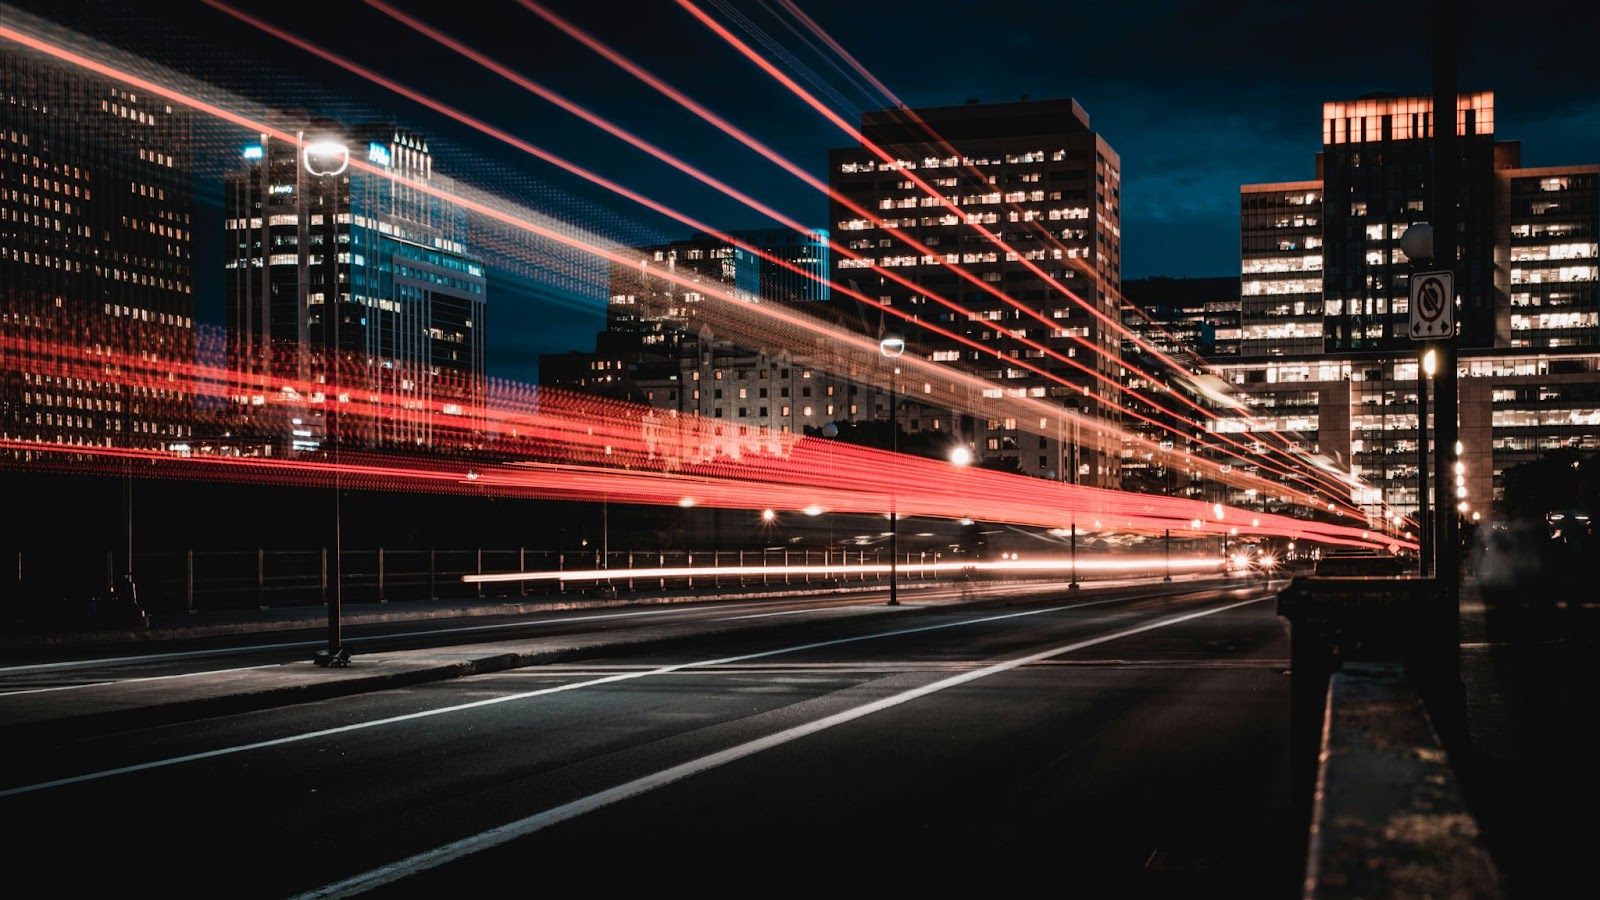
Capturing Light Trails
For a dynamic nighttime effect, set your camera to a slow shutter speed (around 5-15 seconds) to capture light trails from moving vehicles. This adds a sense of movement and energy to your cityscapes, creating a stunning visual impact.
Use Reflections to Double the Impact
Look for reflective surfaces after rain or near bodies of water. The reflections of city lights can double the impact of your nighttime city pictures, creating a mesmerizing mirror effect.
Composition Essentials: Framing Your Shot:
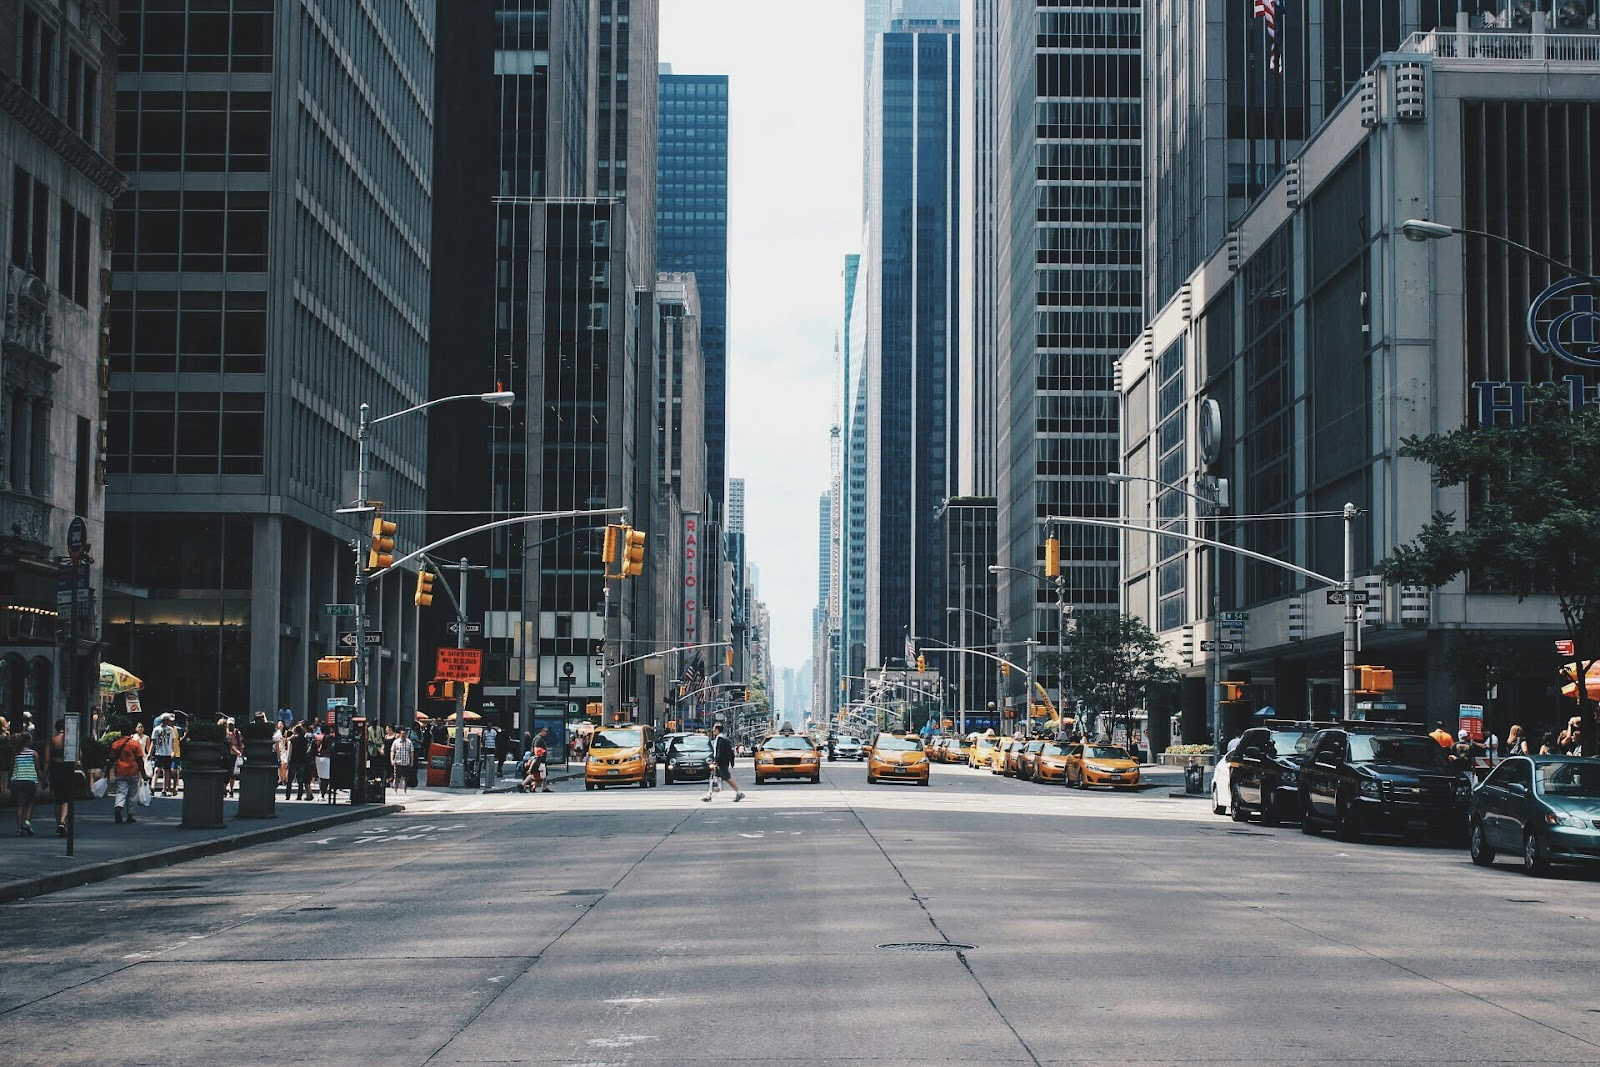
When framing your city picture, think about the story you want to tell. Experiment with wide-angle lenses to capture expansive cityscapes or use a telephoto lens to focus on specific details. The key is to find a balance between capturing the grandeur of the city and highlighting individual elements.
Balancing Skyline and Street
Achieve a harmonious composition by balancing the skyline and street elements. Frame iconic skyscrapers against the sky while incorporating the city streets to ground your photo and provide context.
Experiment with Silhouettes
Incorporate silhouettes of people or objects against the city lights. This adds a layer of mystery and drama to your composition, making your city pictures more visually engaging.
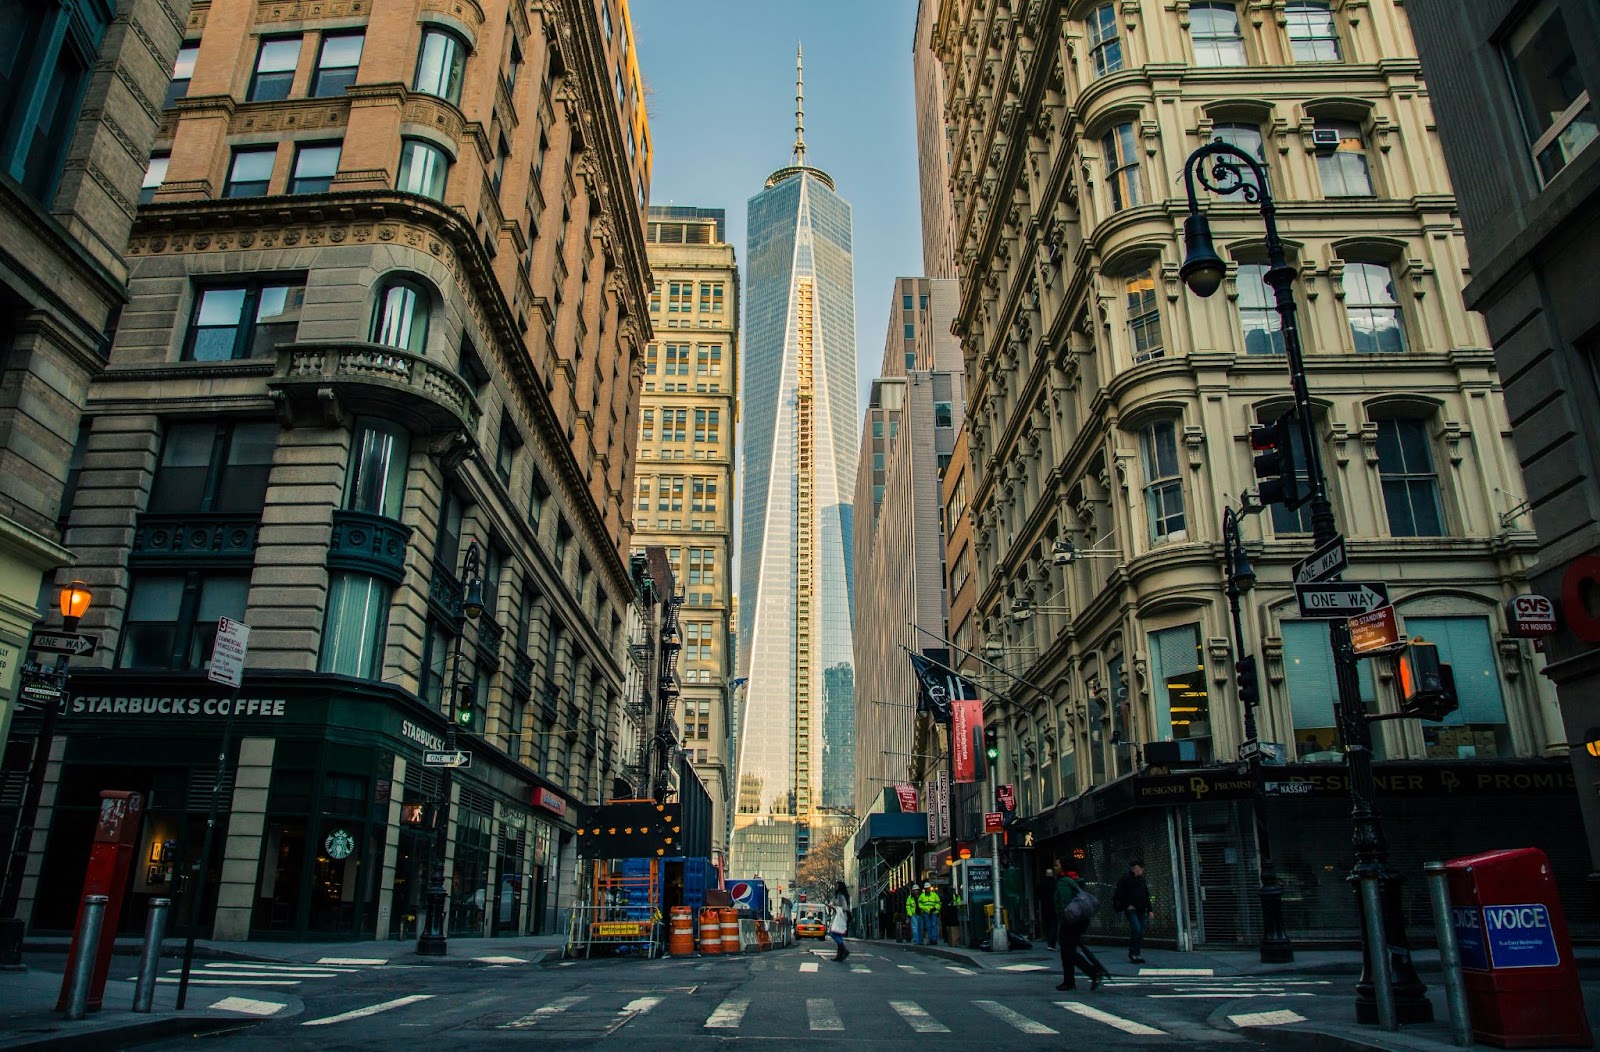
Leading Lines: Guiding the Viewer’s Eye:
Leading lines direct the viewer’s attention and create a sense of depth. Use roads, bridges, or
architectural features as leading lines in your city pictures. These lines draw the viewer’s eye into the frame, making for a more engaging and dynamic photograph.
Waterfront Leading Lines
Cities with waterfronts offer excellent opportunities for leading lines. Utilize piers, boardwalks, or riverside paths as natural guides, leading the viewer through your cityscape and adding a touch of serenity.
Use Architecture as Natural Leading Lines
Consider the architecture itself as leading lines. Capture the lines of a building’s edges or the curves of a bridge, guiding the viewer’s eye through the frame and creating visual interest.
Symmetry and Patterns: Adding Structure to Chaos:
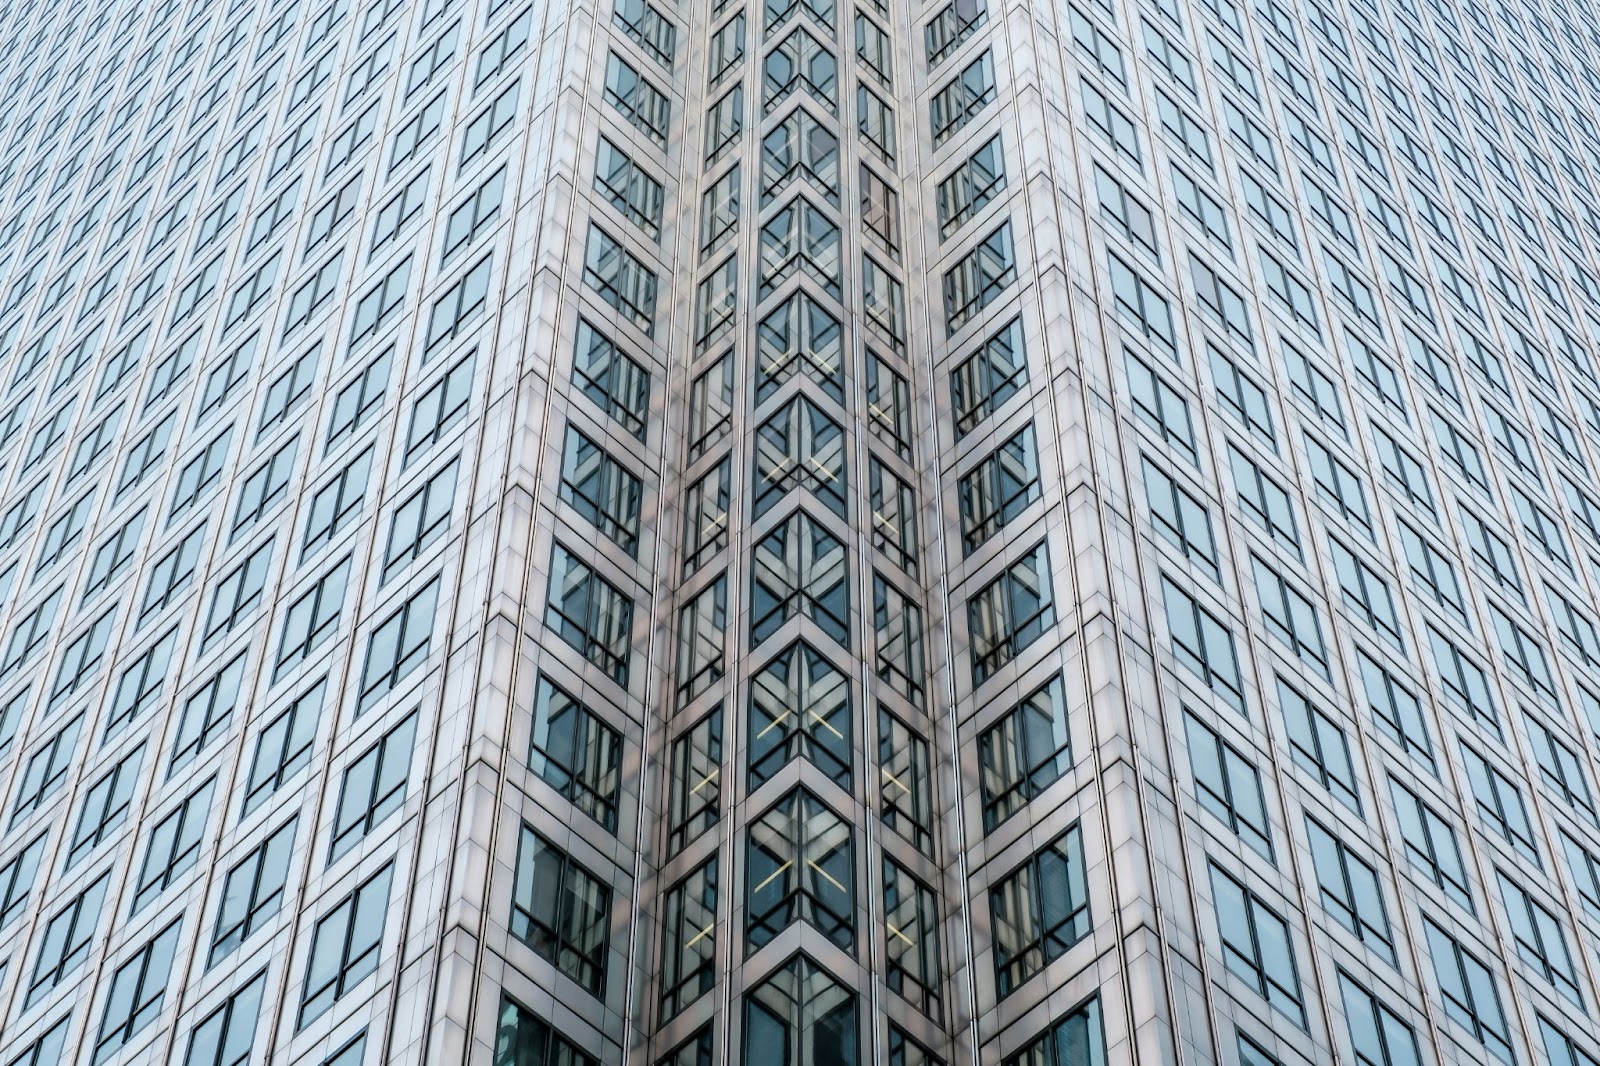
Look for symmetry in the city’s architecture, utilizing reflections in glass buildings or perfectly aligned elements. Patterns, whether in the layout of buildings or the flow of traffic, add a sense of order to the urban chaos in your city pictures.
Finding Patterns in Urban Chaos
Explore the intricate patterns created by bustling city life. Capture repeated shapes in architecture, like windows or streetlights, to create a visually captivating image that highlights the city’s rhythm.
Create Your Own Patterns
Sometimes, chaos can become your canvas. Experiment with capturing the natural flow of pedestrians or the movement of vehicles to create your own unique patterns within the cityscape.
Rule of Thirds: Balancing Your Cityscape:
Divide your frame into thirds both horizontally and vertically, placing key elements along these lines or at their intersections. This simple rule helps create a balanced and visually pleasing composition in your city pictures.
Placing Focal Points Strategically
Identify key focal points within your cityscape and strategically place them along the rule of thirds grid. This draws attention to significant elements while maintaining overall balance in your composition.
Breaking the Rule of Thirds
While the rule of thirds is a great guideline, don’t be afraid to break it intentionally. Experiment by placing your main subject at the center for a bold and impactful composition.
Foreground Interest: Creating Depth:

Adding a compelling foreground element to your city pictures creates depth and draws the viewer into the scene. Whether it’s a park bench, street vendor, or architectural detail, foreground interest adds context and storytelling to your urban photography.
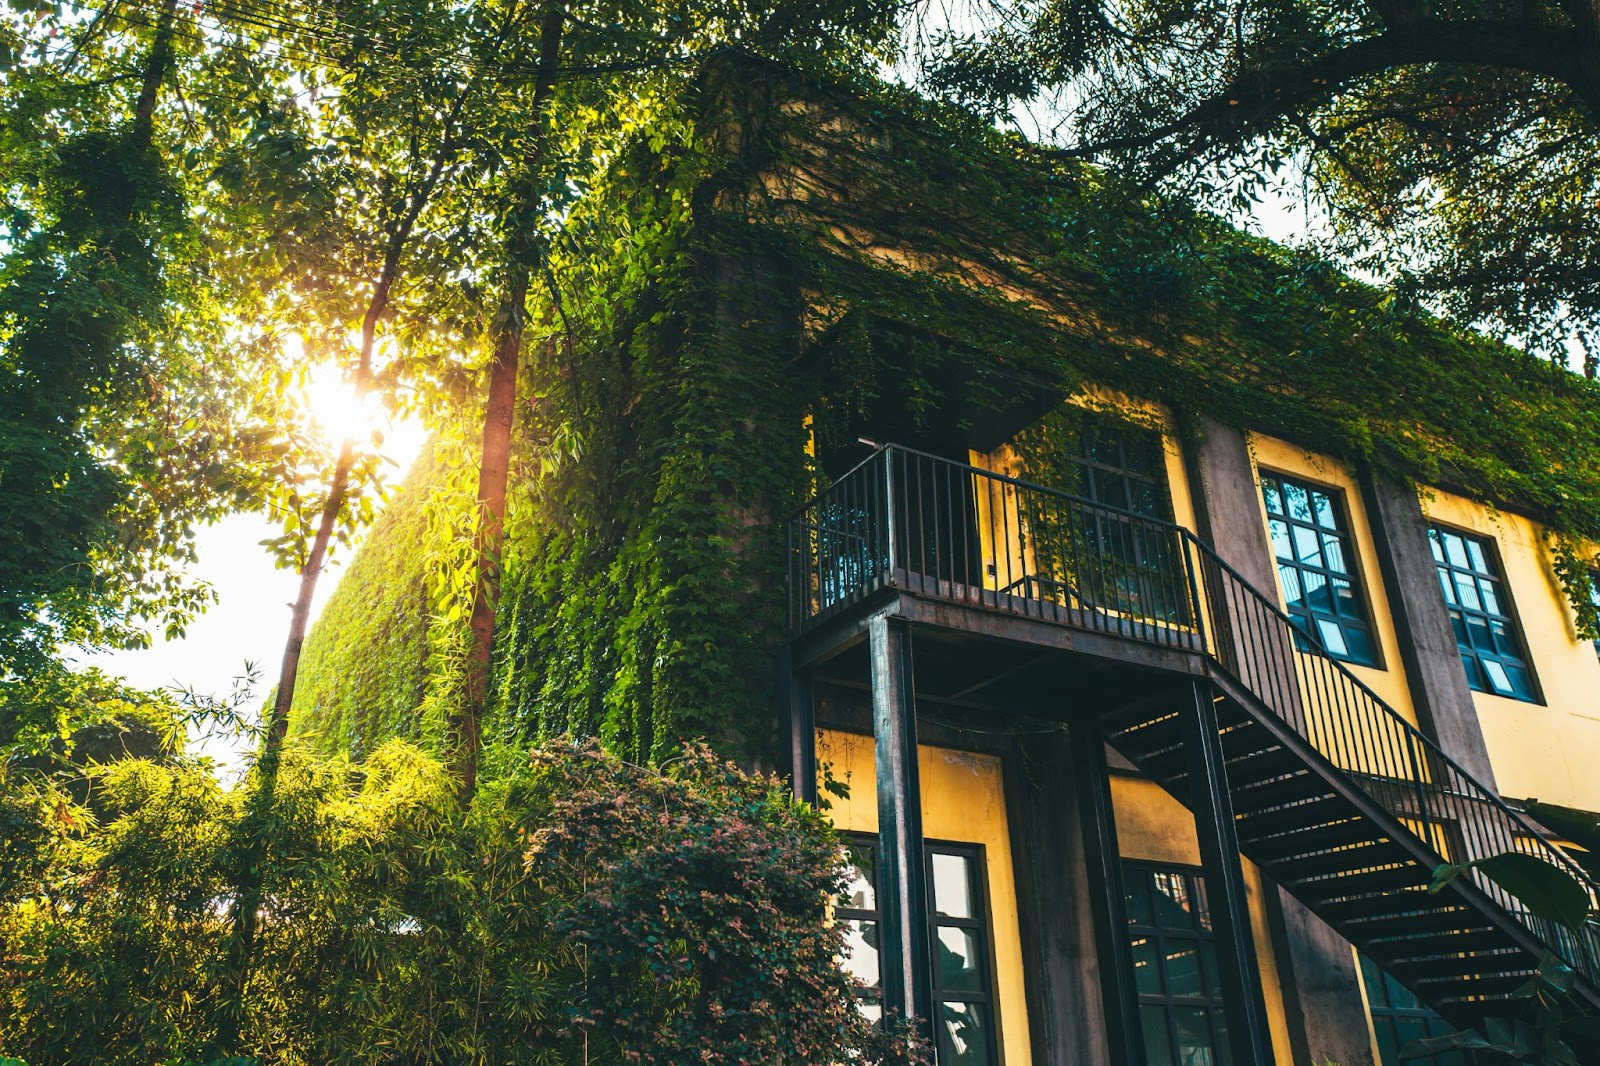
Utilizing Urban Greenery
Incorporate parks, trees, or other green elements into your foreground. This not only adds depth but also provides a refreshing contrast to the concrete jungle, creating a visually appealing balance.
Explore Architectural Details for Unique Foreground
Look for interesting architectural details, such as intricate facades or decorative elements, to use as a foreground. This adds a touch of sophistication and uniqueness to your city pictures.
Cityscapes in Monochrome: Timeless Elegance:
Converting your city pictures to black and white during post-processing can bring out the timeless elegance of urban landscapes. This technique emphasizes shapes, contrasts, and textures, giving your images a classic and sophisticated feel.
Dramatic Shadows in Monochrome
Embrace the dramatic play of shadows in black and white city pictures. The absence of color allows shadows to take center stage, adding a layer of mystery and intrigue to your urban photography.
Highlight Textures in Monochrome
Black and white photography is excellent for highlighting textures. Capture the roughness of brick walls or the smoothness of glass buildings, enhancing the tactile quality of your city pictures.
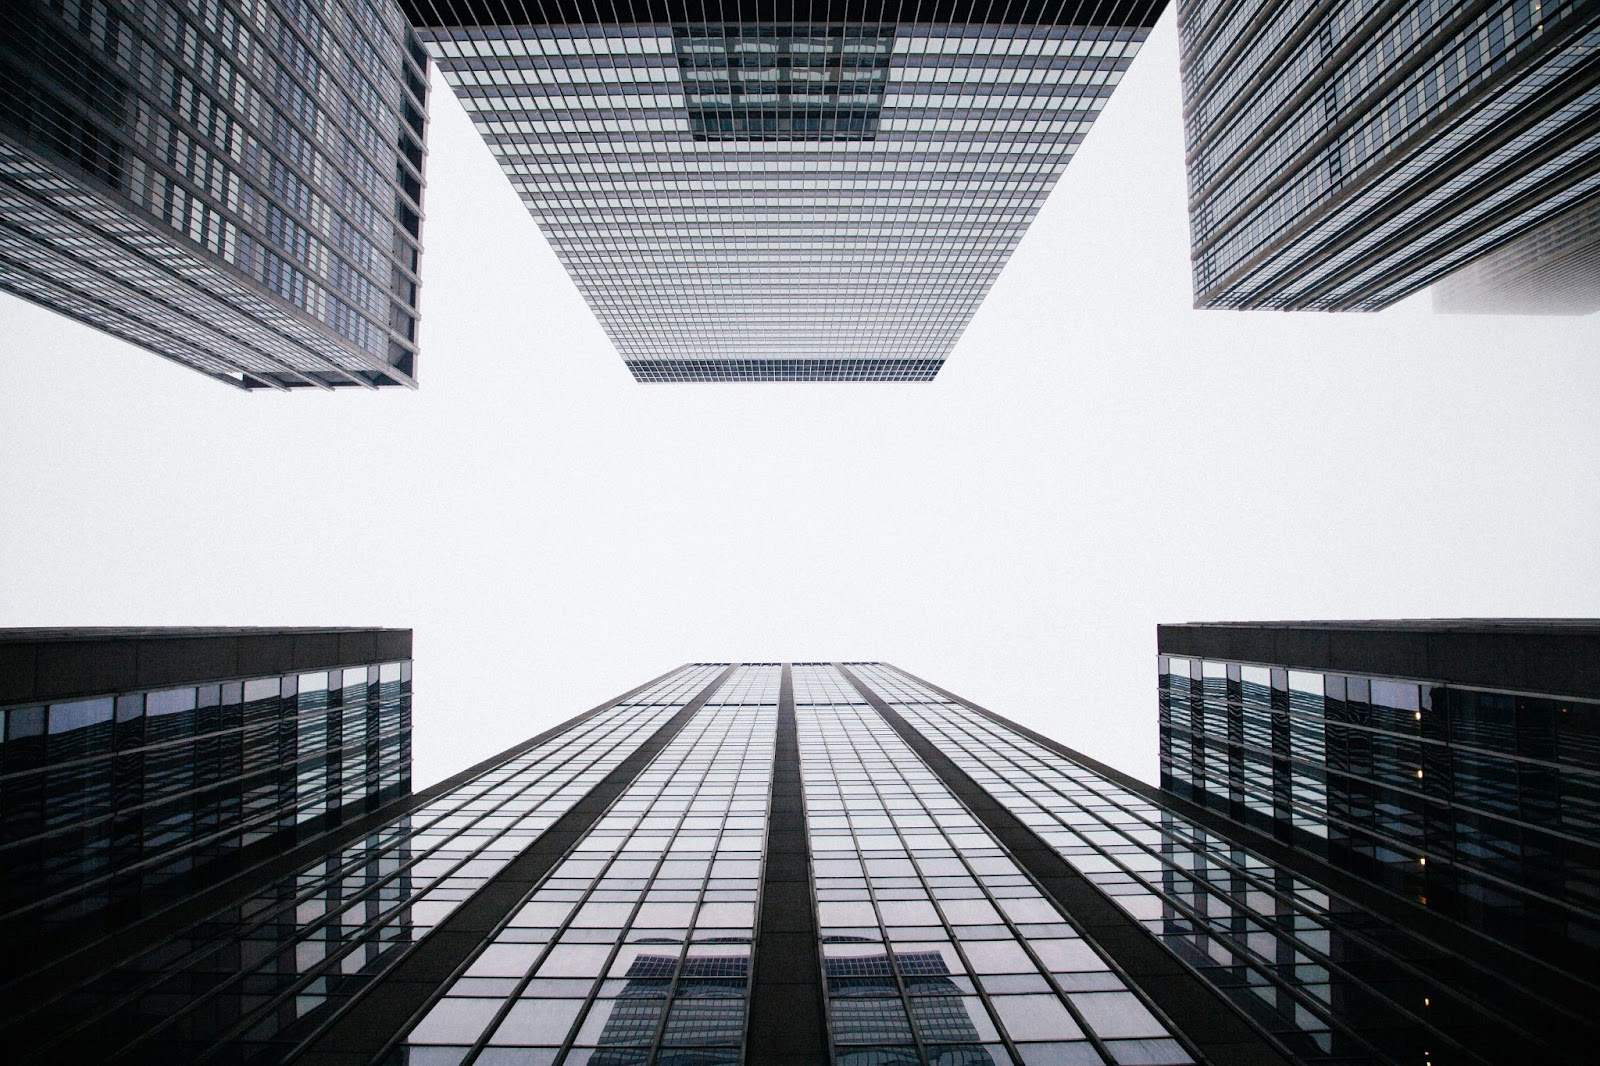
Creative Angles: Seeing the City from a New Perspective:
Experiment with different angles to capture the city from unique vantage points. Whether it’s from a rooftop, a high-rise balcony, or down at street level, changing your viewpoint adds a fresh perspective to your city pictures.
Aerial Perspectives with Drones
Consider using drones for breathtaking aerial city pictures. Drones provide a unique viewpoint, allowing you to capture expansive cityscapes and intricate details from above. Ensure you follow local regulations when flying in urban areas.
Capture Candid Moments for Authenticity
Don’t only focus on architectural perspectives; capture candid moments of people in the city. This adds authenticity to your city pictures and tells a story of daily life in the urban environment.
Post-Processing Tips for City Pictures:
Enhance your city pictures during post-processing by fine-tuning various elements. Adjust contrast, clarity, and color balance to achieve the desired mood. Experiment with filters and presets to maintain a consistent look across your urban photography portfolio.
Creating a Signature Style
Developing a signature style in post-processing can set your city pictures apart. Experiment with different editing techniques, but strive for consistency to establish a recognizable and cohesive aesthetic.
Experiment with Vignettes for Focus
Consider adding subtle vignettes during post-processing to draw the viewer’s attention to the center of your city pictures. This technique can enhance the overall mood and guide the viewer’s gaze.
Safety First: Nighttime Photography Precautions:
Venturing out for nighttime city pictures comes with its own set of considerations. Prioritize safety by choosing well-lit areas, staying aware of your surroundings, and avoiding risky situations. Carry only essential gear, and if possible, shoot with a buddy for added security.
Personal Safety Gear
Consider carrying personal safety gear, such as a flashlight and reflective clothing, especially if you plan to explore less illuminated areas. This ensures you stay visible and safe while focusing on capturing stunning night time city pictures.
Stay Inconspicuous in Busy Areas
When shooting in crowded areas at night, try to blend in to avoid attracting unwanted attention. Dress casually, use a smaller camera setup, and keep a low profile to capture authentic city life without disruption.
Conclusion:
Mastering the art of city pictures requires a blend of technical know-how and creative vision. Whether you’re capturing the vibrancy of a bustling city during the day or the enchanting glow of city lights at night, remember to play with composition techniques to tell a captivating story. For more information about photography, check out my blog posts.